Push Notifications
You can use the PhoneGap Developer App paired with the PhoneGap CLI to immediately preview your app on a device without installing platform SDKs, registering devices, or compiling code. The PhoneGap CLI starts a small web server to host your project and returns the server address for you to pair with from the PhoneGap Developer App running on your mobile device.
Starting with PhoneGap CLI release 6.2.0 and PhoneGap Developer App release 1.6.2, you can now test push notification functionality without needing to set up a Google Cloud Messaging (GCM) project for Android or an Apple Push Notification Service (APNs) certification for iOS.
Create Default PhoneGap Push Project
Enter the following command from your terminal:
$ phonegap create myApp --template pushThis will create a folder named myApp in the current path location with a default project name of Hello World and id of com.phonegap.helloworld.
You can also specify a name and identifier to ensure the project is unique but still contains the default Hello World code project by specifying them as qualified parameters as shown below:
$ phonegap create myApp --id "org.myapp.sample" --name "appSample" --template phonegap-template-pushVerify that you see the following output in your console after you run the command:
Creating a new cordova project.

Retrieving phonegap-template-push using npm...
Change into the new project directory with the cd command:
$ cd myApp/Check to be sure you see the following set of files and folders shown below:
config.xml hooks platforms plugins wwwcdinto the www folder and look around at the files and subfolders in there, this is the content of your app, with the entry point being the index.html file.$ cd www/**TIP:** Details about the rest of the files and folders created in the root project will be covered in guides further along. For now just focus on the ***www*** folder and its contents.Type
$ phonegap serve. You will receive the server address the app is being hosted on in the output received in the console (192.168.1.11:3000in this example):$ phonegap serve [phonegap] starting app server... [phonegap] listening on 192.168.1.11:3000 [phonegap] [phonegap] ctrl-c to stop the server [phonegap]Now go to your mobile device where the PhoneGap Developer App is running, enter the server address on the main screen and tap Connect (for the browser you would use
localhost:3000as the server address). **NOTE:** Tap directly on the server address displayed in the terminal screen of the PhoneGap Developer app to change it to match yours. The value filled in by default is only a sample.
You should see the connection occur followed by a success message as shown below. If you receive an error of any kind, ensure once again that you are connected to the same network on both your and computer. You could also check the issue tracker and PhoneGap Google Groups list for further help.
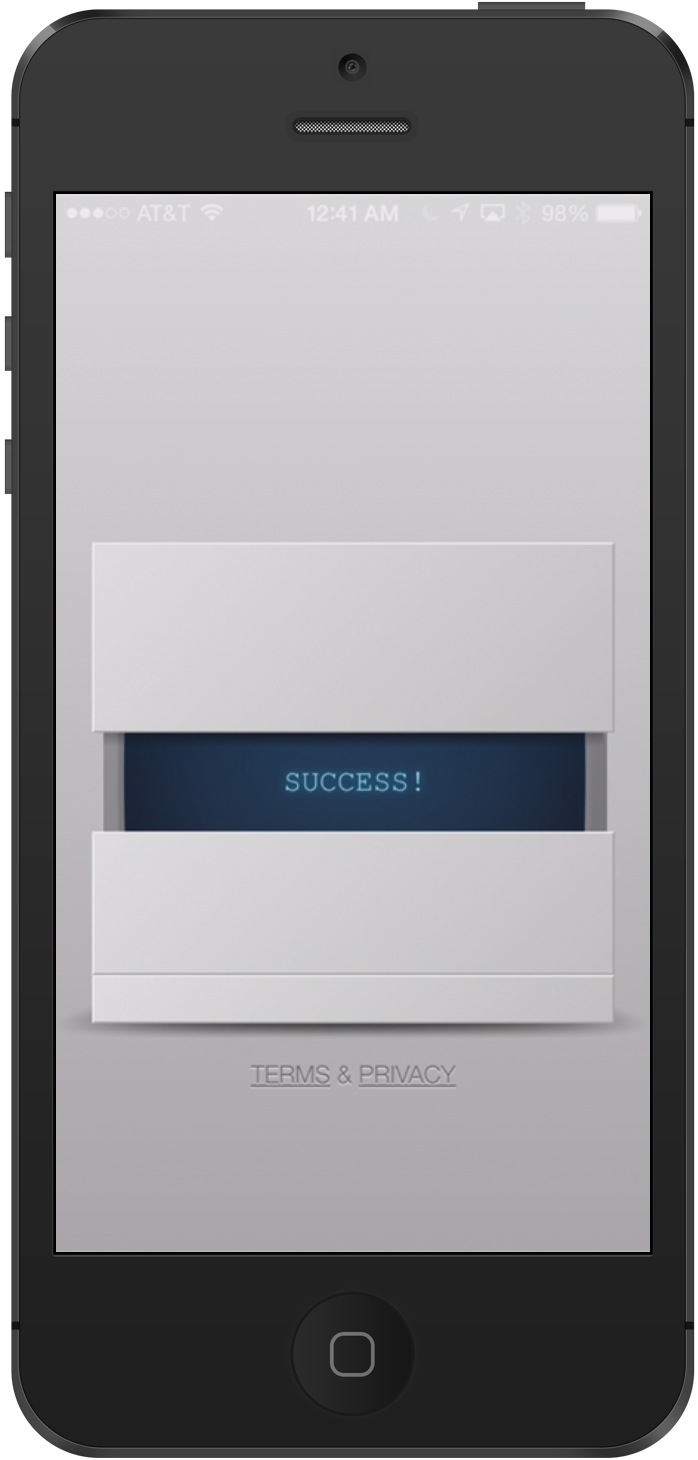
The first time you run an app inside the PhoneGap Developer App that requests the permission to receive push notifications you will see the following dialog:
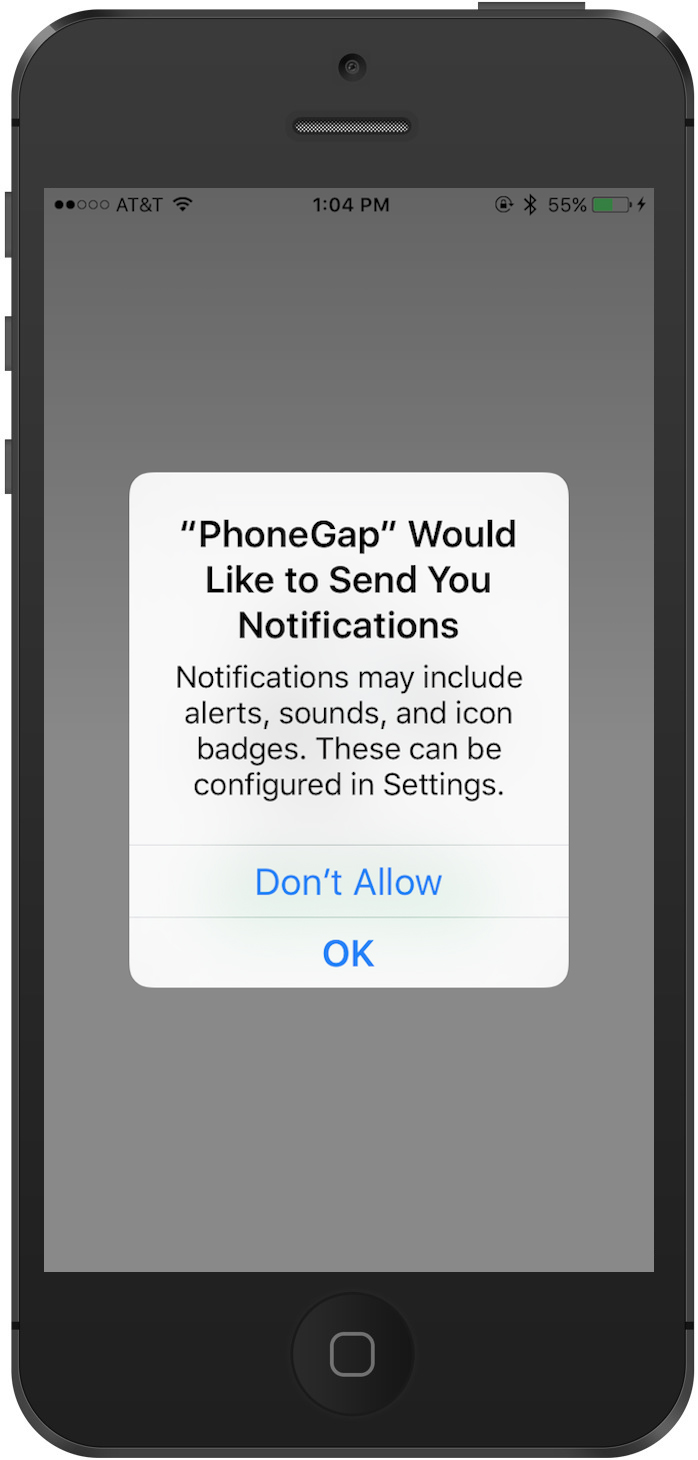

Please click on the
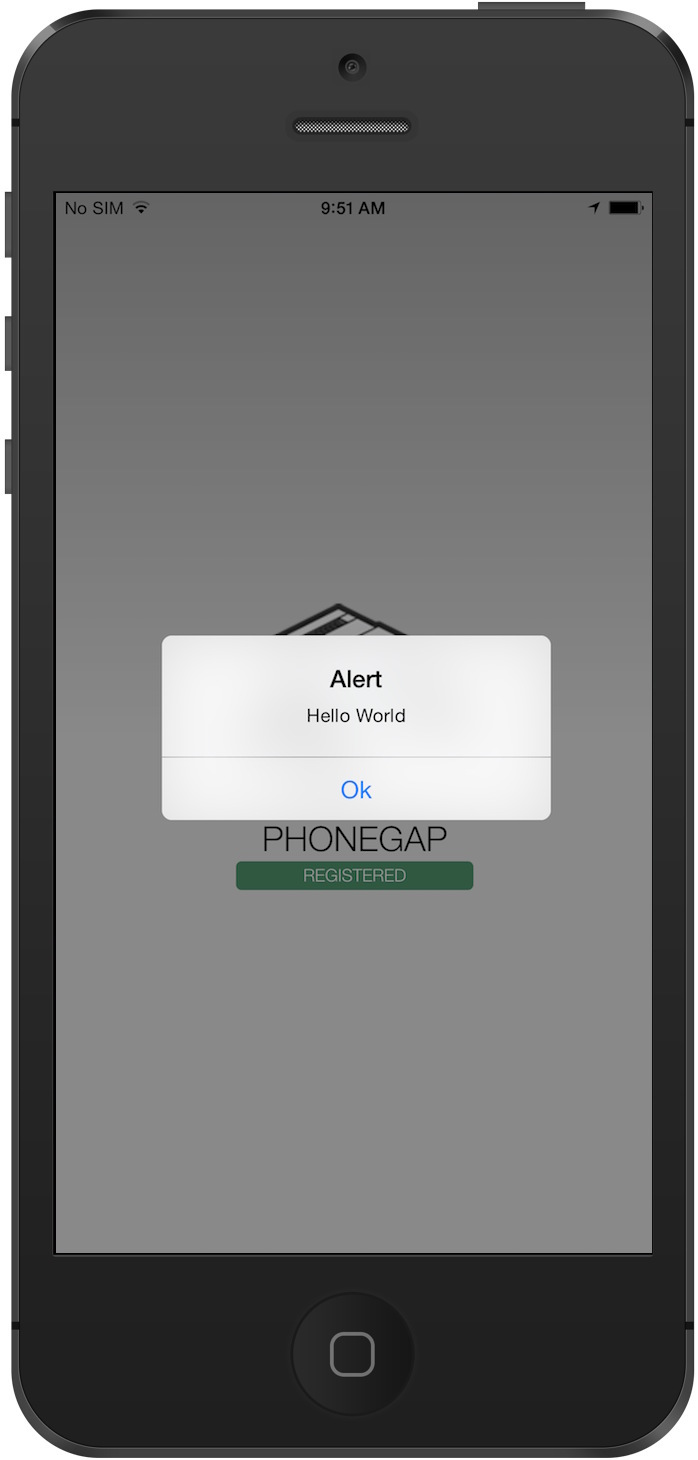
OKbutton to give the app the required permission. Subsequent runs of the application will not show you this permission dialog.Once the PhoneGap Developer app connects and loads your mobile application, it should be displayed for preview as shown below:
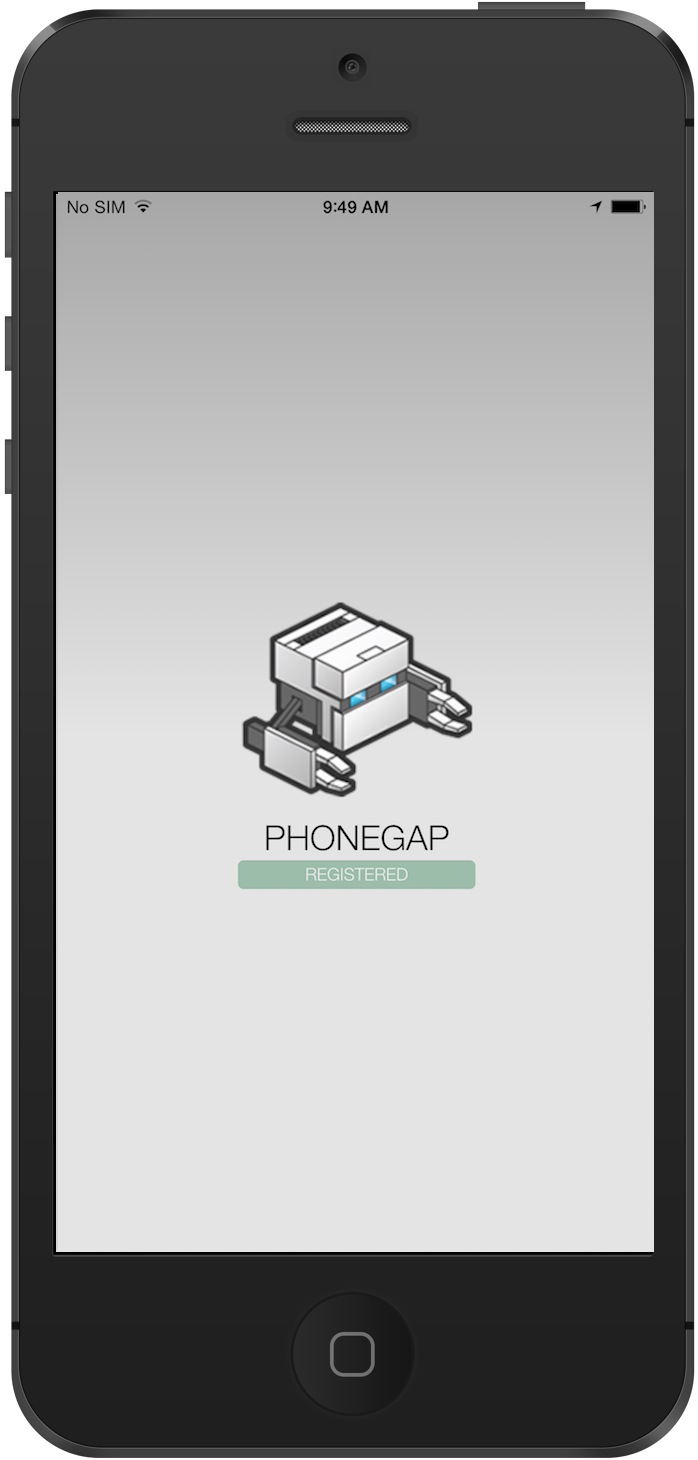
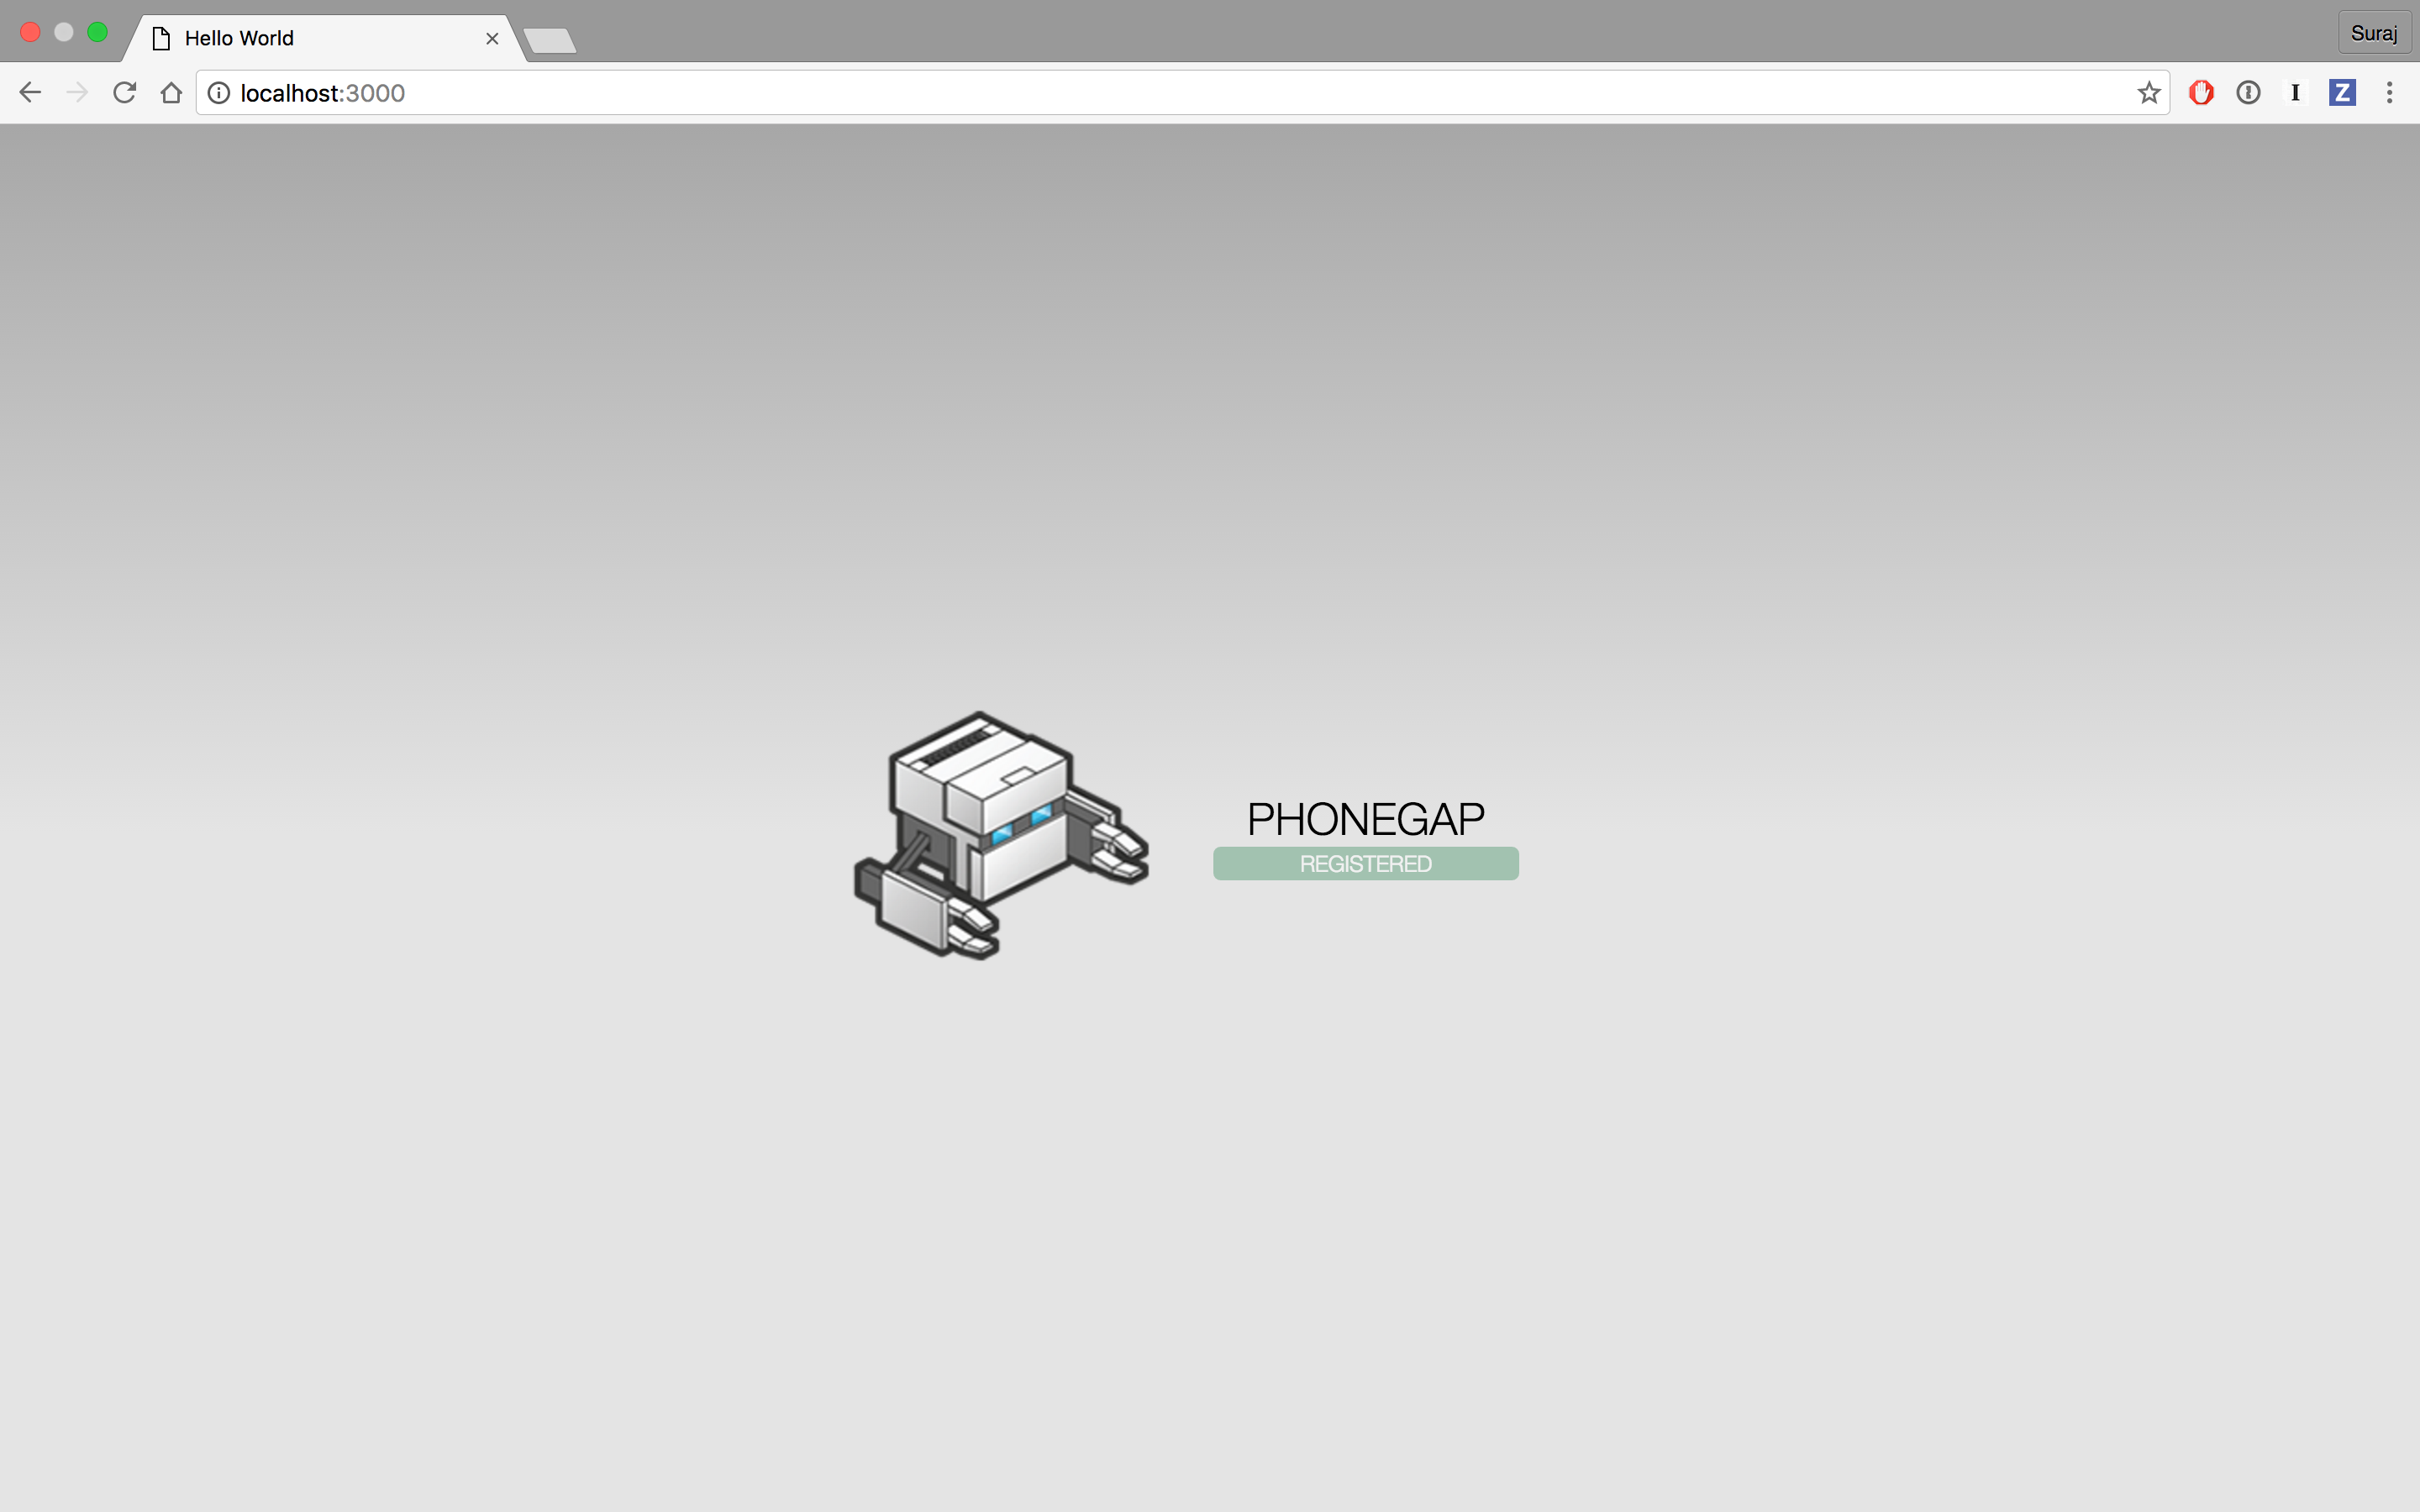
The grey
Requesting Registration IDline under the PhongGap Bot should turn into a greenRegisteredline and you should see the following in your terminal session.[phonegap] [console.log] registration event: APA91bE1MmeTc92igNoi5OkDWUVObviously, your registration ID will be different but you get the picture.
Sending Your First Push
Open a new terminal window and enter the following command if you are testing on iOS:
MacOS:
$ phonegap push --deviceID APA91bE1MmeTc92igNoi5OkDWUV --service apns --payload '{ "aps": { "alert": "Hello World" } }'Windows:
$ phonegap push --deviceID APA91bE1MmeTc92igNoi5OkDWUV --service apns --payload "{ \"aps\": { \"alert\": \"Hello World\" } }"or enter the following command if you are testing on Android or Browser (If you are running PhoneGap CLI 6.5.0 or earlier replace
--service fcmwith--service gcm):MacOS:
$ phonegap push --deviceID APA91bE1MmeTc92igNoi5OkDWUV --service fcm --payload '{ "data": { "title": "Hello", "message": "World"} }'Windows:
$ phonegap push --deviceID APA91bE1MmeTc92igNoi5OkDWUV --service fcm --payload "{ \"data\": { \"title\": \"Hello\", \"message\": \"World\"} }"replacing the deviceID with the one you received from the registration event in the previous step.
This will result in a push notification being received by the app.

Sending Your Second and Third Pushes
Now minimize the PhoneGap Desktop App.
From your terminal window, enter the following command if you are testing on iOS:
MacOS:
$ phonegap push --deviceID APA91bE1MmeTc92igNoi5OkDWUV --service apns --payload '{ "aps": { "alert": "Hello World" } }'Windows:
$ phonegap push --deviceID APA91bE1MmeTc92igNoi5OkDWUV --service apns --payload "{ \"aps\": { \"alert\": \"Hello World\" } }"or enter the following command if you are testing on Android or Browser (If you are running PhoneGap CLI 6.5.0 or earlier replace
--service fcmwith--service gcm):MacOS:
$ phonegap push --deviceID APA91bE1MmeTc92igNoi5OkDWUV --service fcm --payload '{ "data": { "title": "Hello", "message": "World"} }'Windows:
$ phonegap push --deviceID APA91bE1MmeTc92igNoi5OkDWUV --service fcm --payload "{ \"data\": { \"title\": \"Hello\", \"message\": \"World\"} }"replacing the deviceID with the one you received from the registration event in the previously.
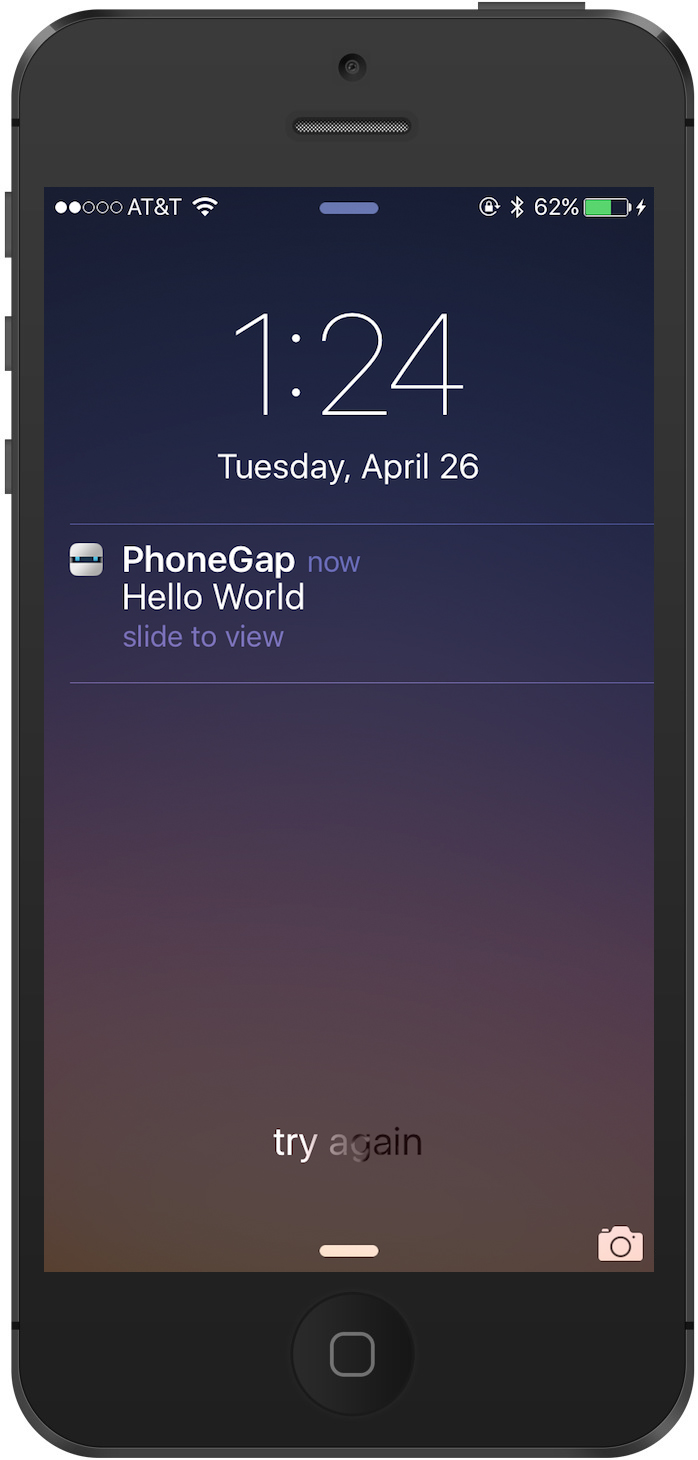
This will result in a push notification being received by the app while it is in the background.

Now, lock your device.
From your terminal window, enter the following command if you are testing on iOS:
MacOS:
$ phonegap push --deviceID APA91bE1MmeTc92igNoi5OkDWUV --service apns --payload '{ "aps": { "alert": "Hello World" } }'Windows:
$ phonegap push --deviceID APA91bE1MmeTc92igNoi5OkDWUV --service apns --payload "{ \"aps\": { \"alert\": \"Hello World\" } }"or enter the following command if you are testing on Android or Browser (If you are running PhoneGap CLI 6.5.0 or earlier replace
--service fcmwith--service gcm):MacOS:
$ phonegap push --deviceID APA91bE1MmeTc92igNoi5OkDWUV --service fcm --payload '{ "data": { "title": "Hello", "message": "World"} }'Windows:
$ phonegap push --deviceID APA91bE1MmeTc92igNoi5OkDWUV --service fcm --payload "{ \"data\": { \"title\": \"Hello\", \"message\": \"World\"} }"replacing the deviceID with the one you received from the registration event in the previously.
This will result in a push notification being received by the app while the device is locked.
Explaining Push
Now open the www/js/index.js file and we'll take a deep dive into what is going on. All of the code required to register and receive push notifications is in the onDeviceReady function.
Initialization
First we need to initialize the push notification system. The init function sets up the communication path with the remote push service and requests a registration ID. You will need to do this each time your app starts. Don't worry about requesting a registration ID each time your app starts. The phonegap-plugin-push code is smart enough to use cached registration ID if available.
var push = PushNotification.init({
  "android": {
    "senderID": "XXXXXXXX"
  },
  "browser": {},
  "ios": {
    "sound": true,
    "vibration": true,
    "badge": true
  },
  "windows": {}
});Registration
Next we'll setup an event handler for the registration event. Once the app has successfully registered with the remote push service, our event handler will be called. The event handler is called with one parameter, a data object containing one property; the registrationId received from the remote push service.
Then we'll get the value of the saved registrationId from localStorage. If the old registration ID does not match the newly received registration ID we need to do two things. First, save the new registrationId into localStorage. Second, send the registration ID to your push service.
You'll see that the registration event handler updates the HTML to visually display that the app is now registered. It does this by setting the CSS display attribute to none on the initial <p> element that was shown and instead shows the Registered element in index.html by setting its display attribute to block.
push.on('registration', function(data) {
  console.log('registration event: ' + data.registrationId);

  var oldRegId = localStorage.getItem('registrationId');
  if (oldRegId !== data.registrationId) {
    // Save new registration ID
    localStorage.setItem('registrationId', data.registrationId);
    // Post registrationId to your app server as the value has changed
  }

  var parentElement = document.getElementById('registration');
  var listeningElement = parentElement.querySelector('.waiting');
  var receivedElement = parentElement.querySelector('.received');

  listeningElement.setAttribute('style', 'display:none;');
  receivedElement.setAttribute('style', 'display:block;');
});
Error Handling
Next we'll setup an event handler for the error event. If anything goes wrong with registration the error event will be fired.
push.on('error', function(e) {
  console.log("push error = " + e.message);
});
Receiving notifications
Finally, we'll setup an event handler for the notification event, called only when the app receives a push notification while running in the foreground. This event handler function will have one data object parameter that could contain multiple properties, including title and message.
push.on('notification', function(data) {
  console.log('notification event');
  navigator.notification.alert(
    data.message,         // message
    null,                 // callback
    data.title,           // title
    'Ok'                  // buttonName
  );
});For more information on how to use Push Notifications see the documentation at the PhoneGap Push Plugin repository.
Edit this page on GitHub