Custom Build
Since the PhoneGap Developer App is an open source project, you could also use it to create your own custom builds. This may be useful if you want to add your own 3rd party plugins or specific settings and distribute it to a team of testers for instance. You could also use this option to allow the use of more remote debugging tools when you're running it locally rather than being flagged as a release build.
Steps
Open your terminal application and clone the PhoneGap Developer app repo git project and
cdinto it:$ git clone https://github.com/phonegap/phonegap-app-developer.git $ cd phonegap-app-developer/Install the node dependencies:
$ npm installNext, from the main project folder (
<your-path>/phonegap-app-developer) open the config.xml file. Within the rootwidgetelement, modify theidattribute to set your own unique app bundle id.<?xml version='1.0' encoding='utf-8'?> <widget id="org.mycompany.phonegap.app" version="1.5.4" xmlns="http://www.w3.org/ns/widgets" xmlns:gap="http://phonegap.com/ns/1.0">Run the
buildcommand for iOS on the command line in the root of the project:$ cordova platform add ios $ cordova build iosAt this point the build may fail with code signing errors due to provisioning if it did not associate your app id with one of your valid provisioning profiles with an error such as below:
Check dependencies
 Code Sign error: No matching provisioning profile found: Your build settings specify a provisioning profile with the UUID <some-uuid>, however, no such provisioning profile was found.
CodeSign error: code signing is required for product type 'Application' in SDK 'iOS 8.4' BUILD FAILEDThe easiest way to fix this issue is to open the **PhoneGap.xcodeproj** file in the `platforms/ios` subfolder with Xcode and build/run it there. You will be prompted to fix it using your Apple Developer account settings.
Run the app on your mobile device:
Once you have your own build running successfully on your iOS device, you can modify it at any time to add custom plugins or other settings as desired. You can also use Safari or Chrome Remote debugging to help you debug your apps more easily since it's no longer packaged as a release build for the App Store.
Video Demo
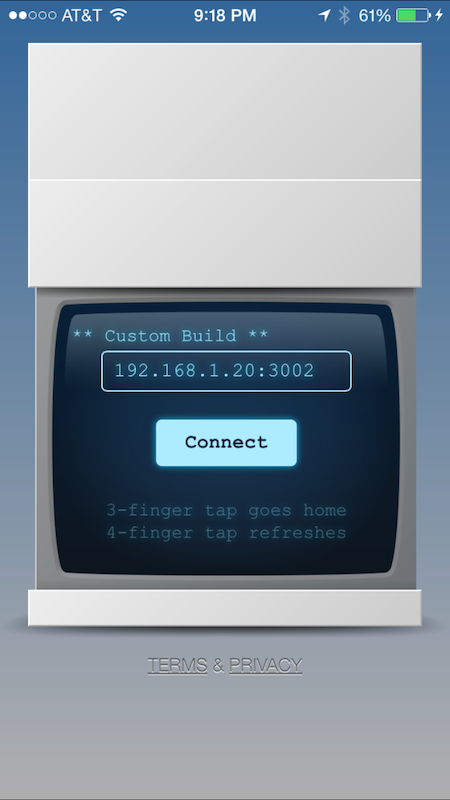
In this short video we are running a locally built version of the PhoneGap Developer app on iOS with the addition of a 3rd party Social Sharing plugin built into it for sending text messages and some visual updates to the color and label of the wrapper to show that it's a custom build.

Distributing Your Custom Build
If you want to distribute your version of the PhoneGap Developer app to others for testing on your team then you'll need to continue with a couple more steps explained in the next section.
To package for distribution you'll need to start by building an Xcode product archive for your version of the app. Open the project in Xcode (by opening the PhoneGap.xcodeproj file) if you haven't already and select Product -> Archive. Once it completes the archive steps you should see it show up in the list of archives in the Xcode Organizer window as shown below.
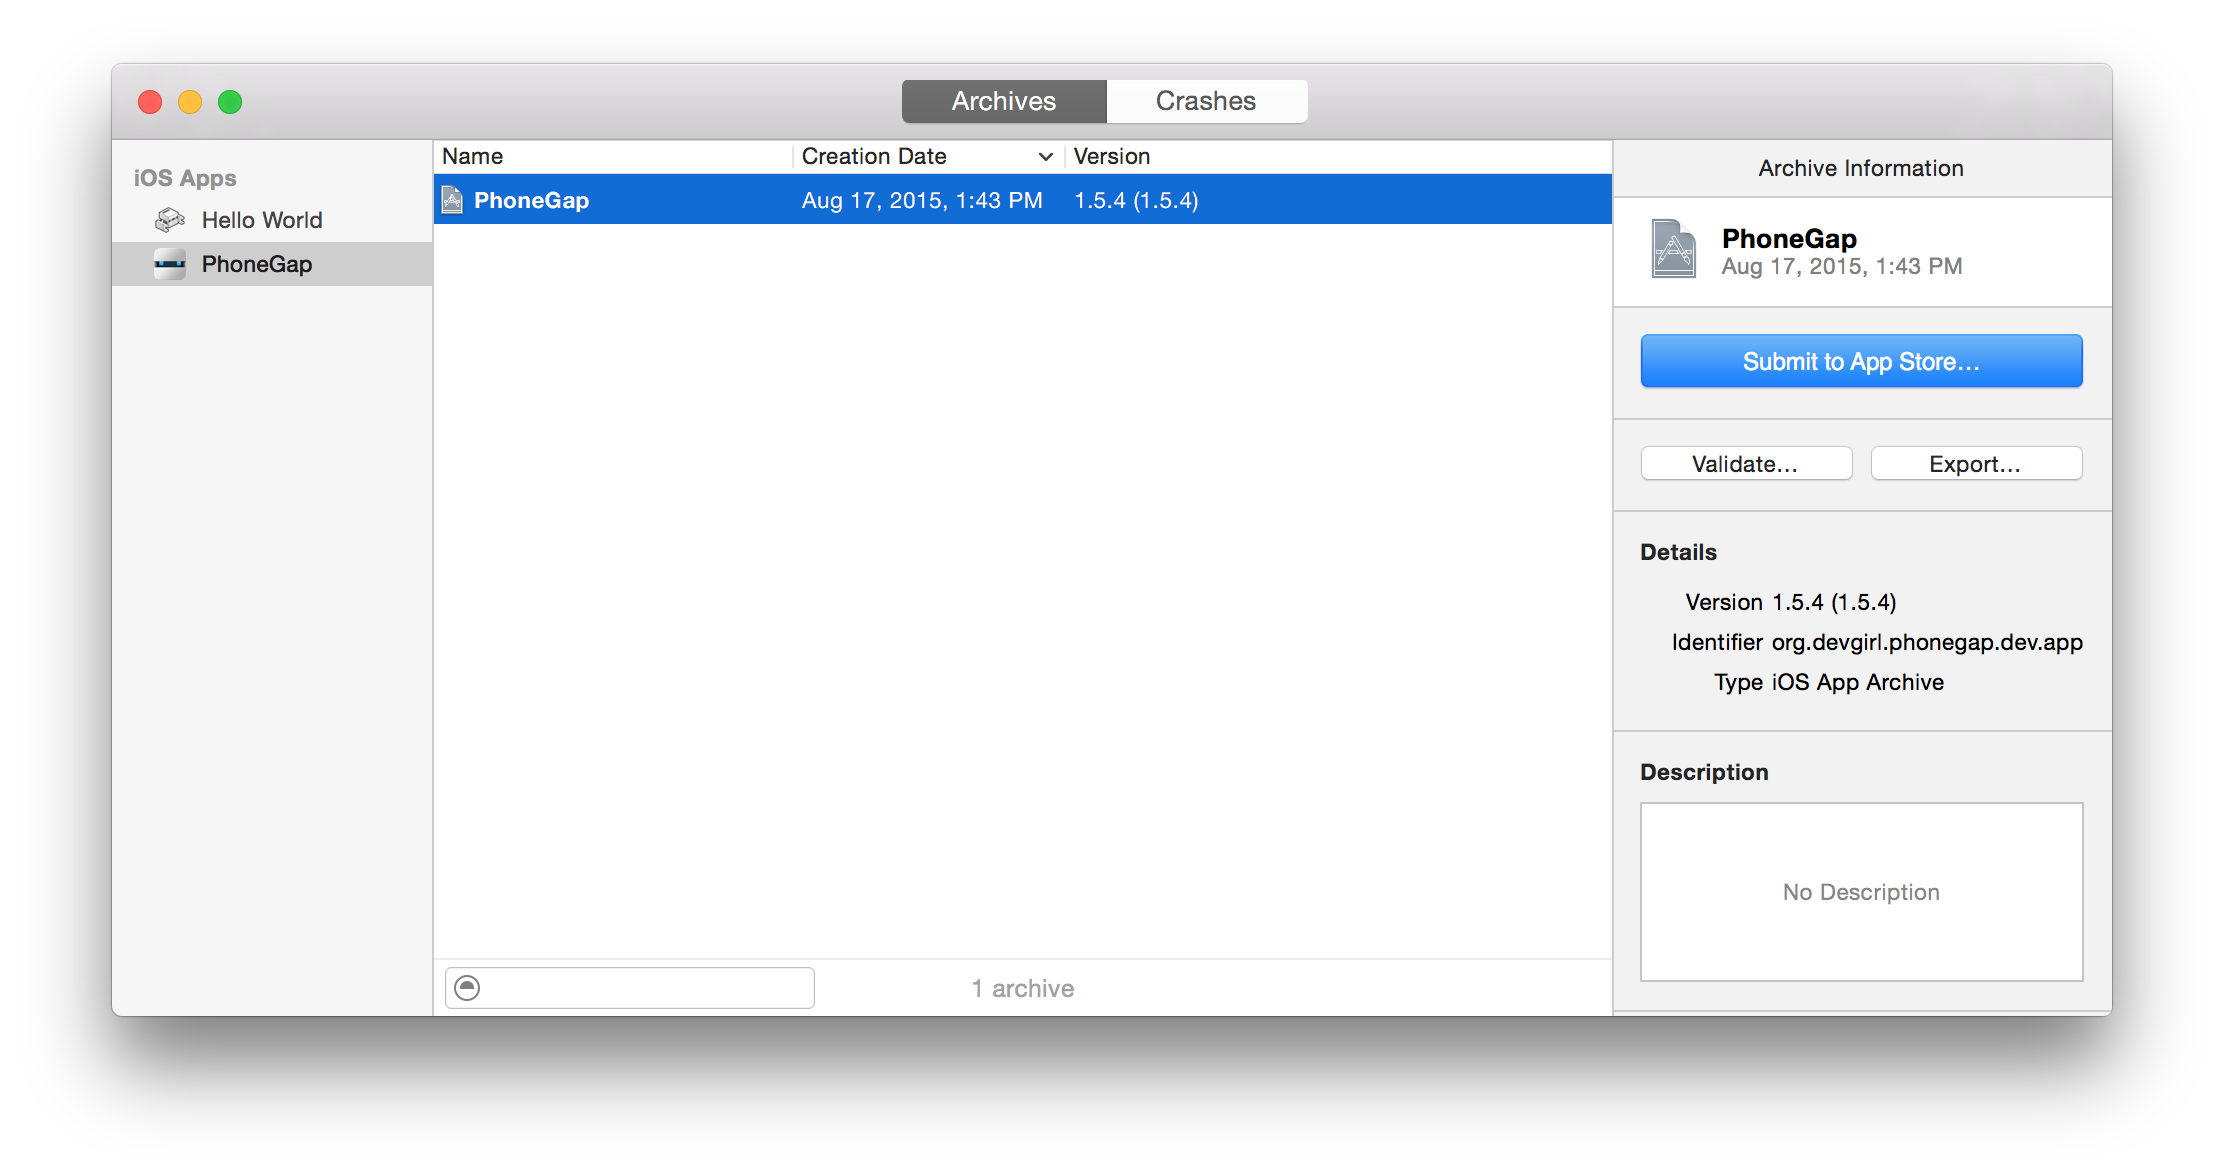 If the **Archive** menu item appears disabled then double check to ensure you have your actual iOS device selected as the active *scheme*. It will not be selectable if a simulator is currently set.**TIP:** You can manually open the Organizer window by clicking **Window -> Organizer** in the Xcode menu as well.
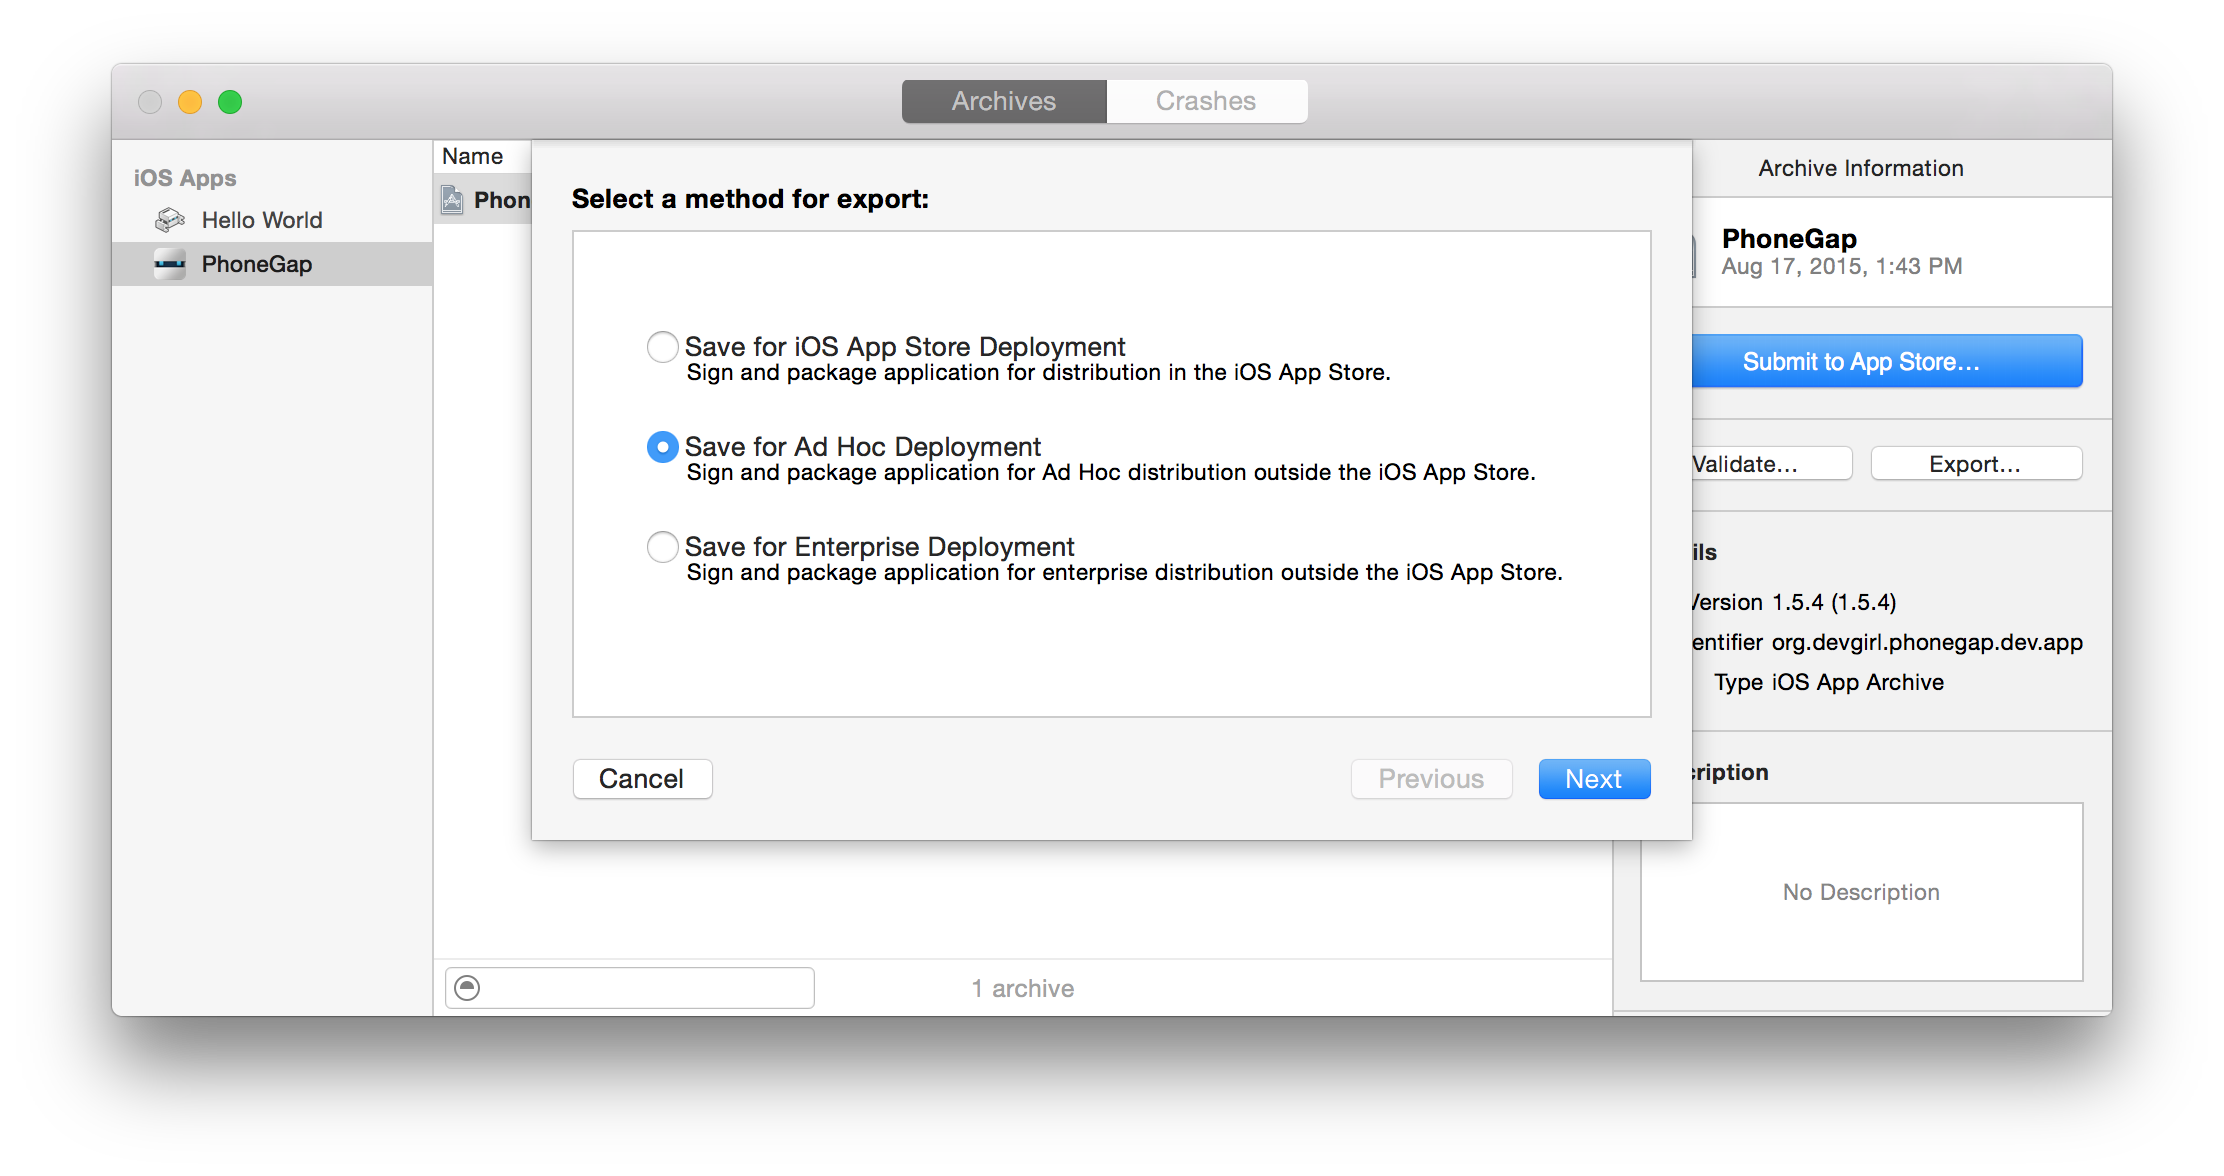
Once you locate the PhoneGap archive in the Xcode Organizer, you'll need to choose it for Export. Select the archive and click the Export button in the right-hand menu. You'll be prompted with the following dialog where you can choose the type of distribution you desire:
You'll be prompted to select your Apple ID associated with your Developer Account and then after the required provisioning and signing checks have been made, you'll be prompted to save to your file system. It will be saved as an .ipa package you can then distribute as needed.
* Notice the final product exported is a file with an *.ipa extension. Keep track of where you put this since you will need it for submitting your application to the app store. **