Step 1: Install PhoneGap
The PhoneGap Desktop application provides a drag and drop interface for creating PhoneGap applications. It's an alternative to using the PhoneGap CLI built for those who prefer a visual user interface over a command line interface approach.
Select your operating system to continue:
Mac OS X Installation
Download the latest Mac OS X Installer.
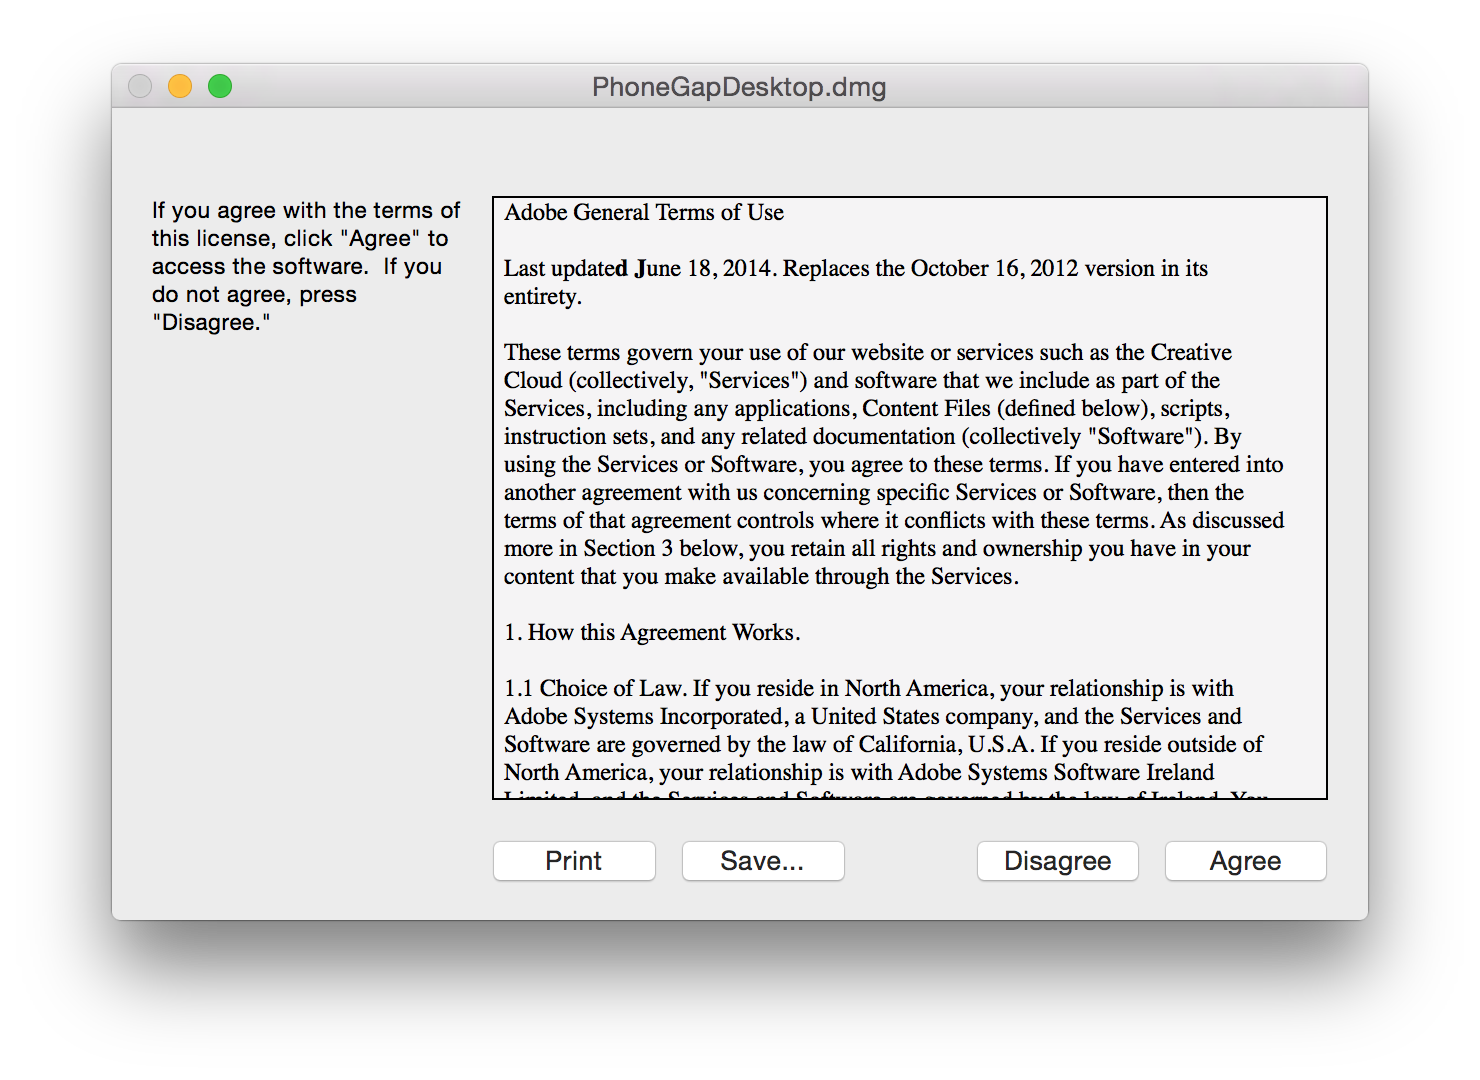
Double-click the downloaded file to run the installer. You will initially be prompted with a license agreement to accept:
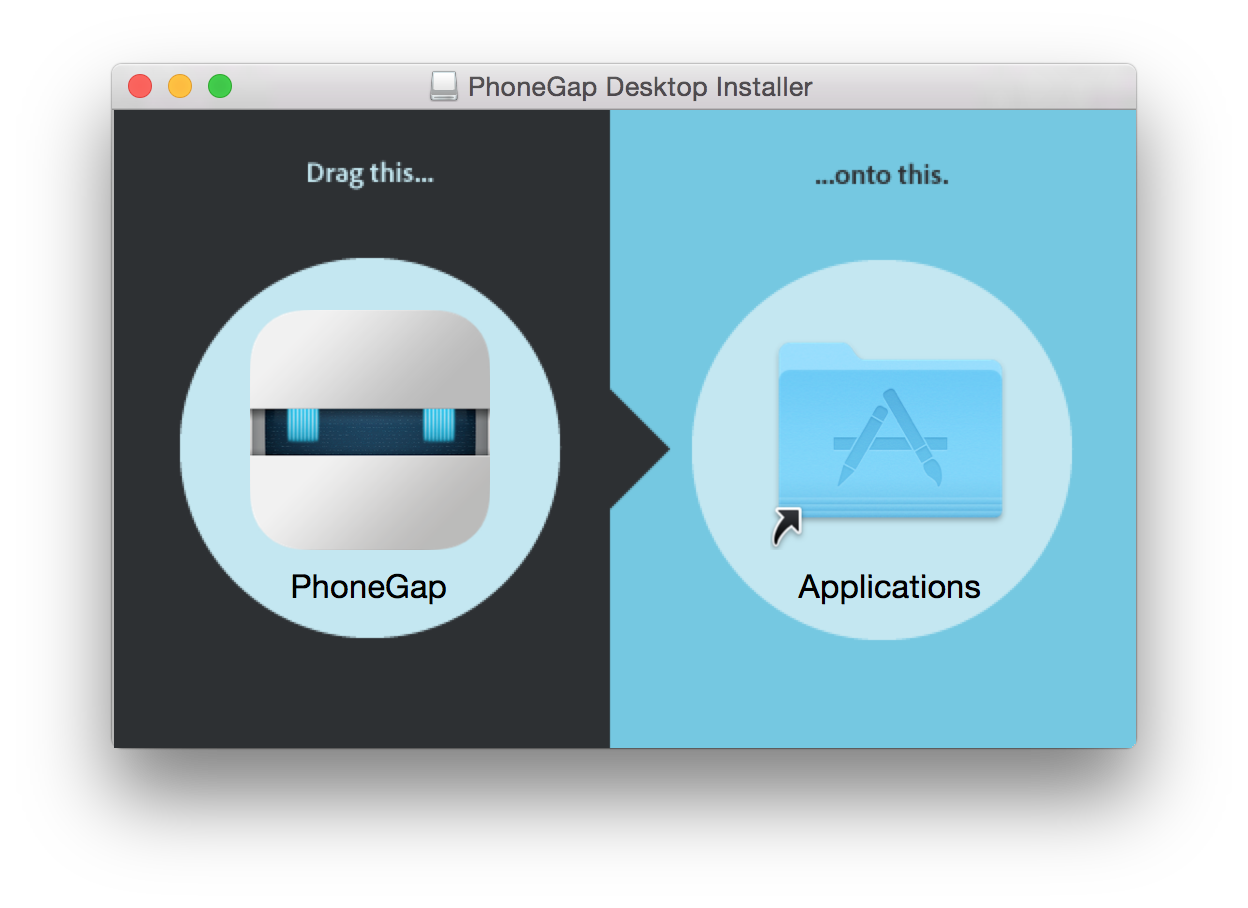
Drag and drop the application into the Applications folder on your Mac as prompted:
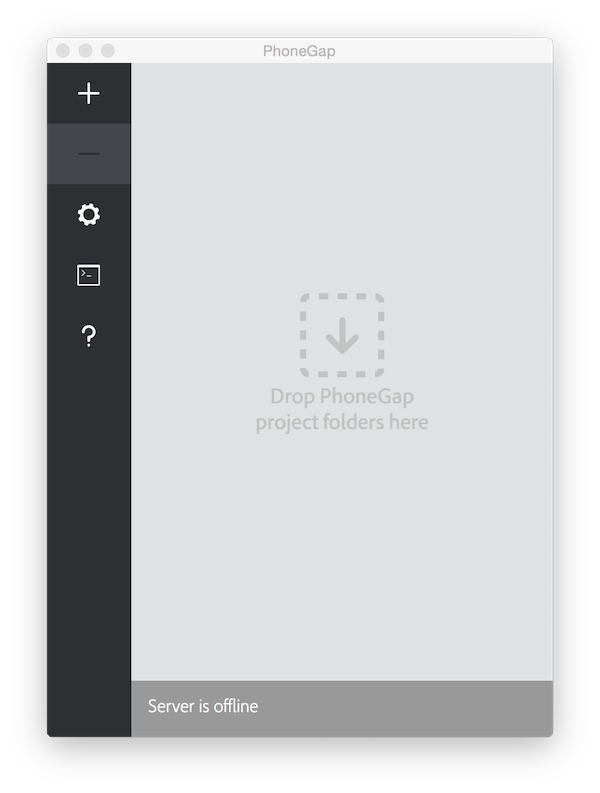
Next simply open the application and proceed to Step 2 where you will install the PhoneGap Developer App to your mobile device for previewing the apps you build.
Windows Installation
- Download the latest Windows Installer.
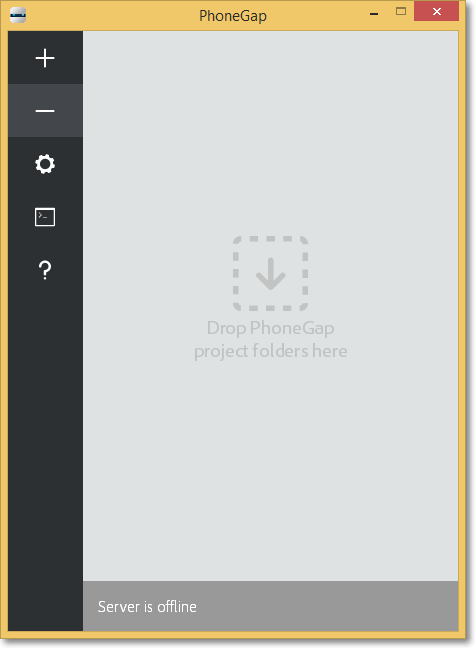
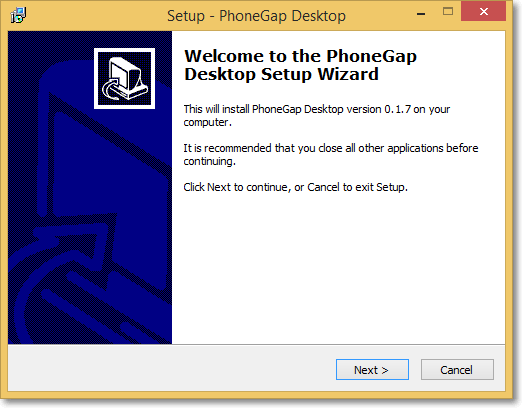
Double click the downloaded file to run the installer. You will be prompted with the PhoneGap Desktop Setup Wizard:
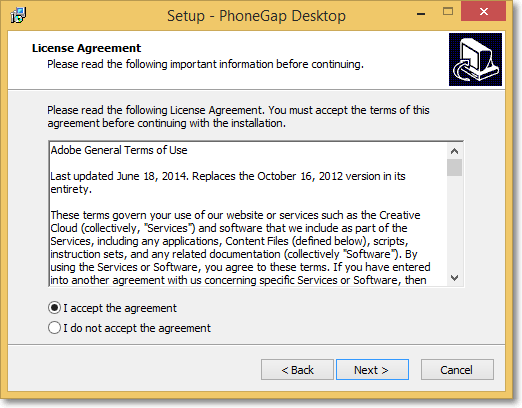
Accept the license agreement:
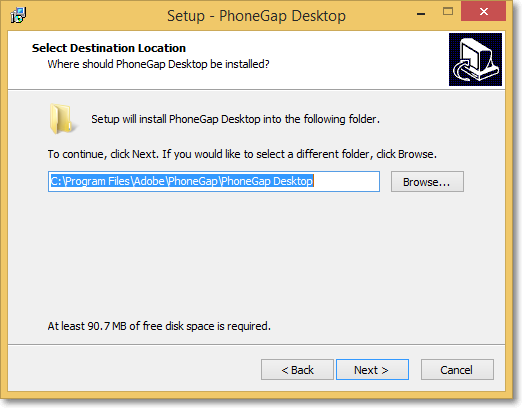
Select the desired destination for the application and click Next:
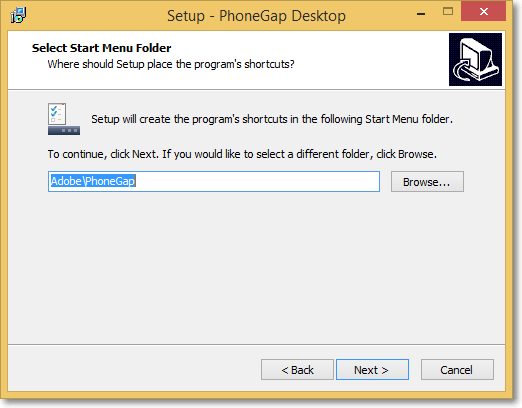
Select the desired location for the shortcut and click Next:
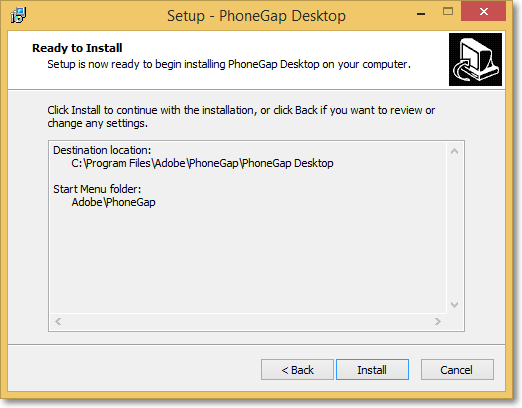
Click Install to begin the installation:
Click Finish to close the Setup Wizard:
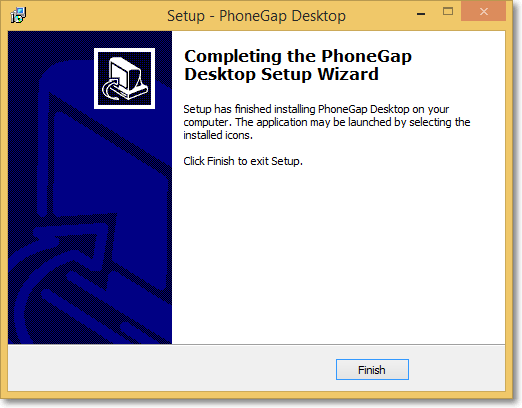
Next simply open the application and proceed to next step below where you will install the PhoneGap Developer App to your mobile device for previewing the apps you build.