Creating a Mesh with the Poly Shape tool
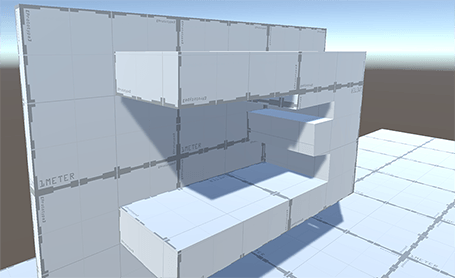
Use the Poly Shape tool to define a 2-dimensional custom shape (depth and width) and then extrude a 3-dimensional shape to define its height. Like the Shape tool, this is a modal tool that creates a new Mesh but also lets you re-activate the tool to edit the initial shape.
Note: When you modify control points or settings, you lose any changes you made in editing the Mesh.
To define a custom Mesh:
- Open the ProBuilder window (in Unity's top menu: Tools > ProBuilder window).
The Edit Mode toolbar and the ProBuilder toolbar appear.
- From the ProBuilder toolbar, click New Poly Shape (
 ).
).
Tip: You can also access this tool from the ProBuilder menu (Tools > ProBuilder > Editors > New Poly Shape).
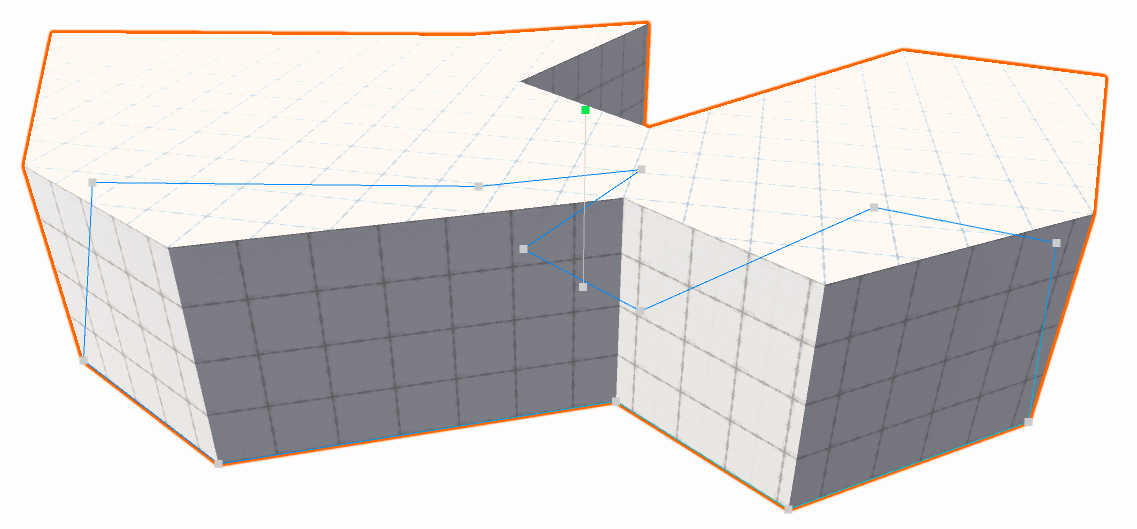
In the Scene view, click to create control points. Control points form the outer bounds of your Mesh.
You can click directly on another surface to create an outgrowth, even when that surface is on the y-axis.
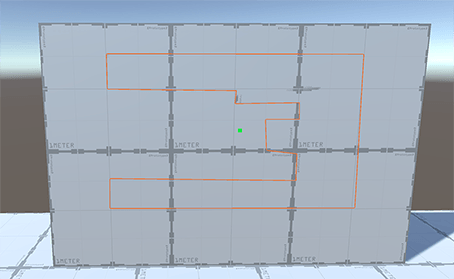
When you finish placing points, use either Enter (Windows), Return (macOS), or Spacebar to finalize the shape.
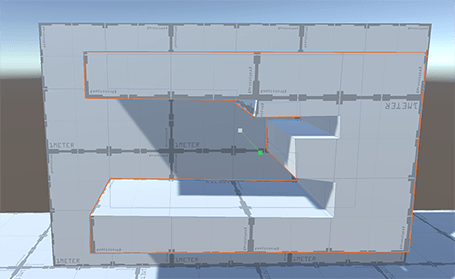
Move the mouse up and down to set the Mesh height. This extrudes a 3D Mesh from the 2D shape you defined with your control points.
Click to exit create mode. Your new Mesh is now in editing mode so you can continue to modify it.