Intro to Plugin Dev
What are Plugins? #
Plugins are mini applications that run alongside Craft’s core code. They can be simple, serving a single purpose like providing a new Dashboard widget type, or they can be complex, introducing entirely new concepts to the system, like an e-commerce application. Craft’s plugin architecture provides a solid foundation for building just about anything.
Technically, plugins are a superset of Yii Modules, which means they can have models, active record classes, controllers, application components, and other things. It wouldn’t hurt to take some time to read up on those concepts if you are new to Yii.
The main benefits of Craft Plugins over Yii Modules are:
- Plugins can be installed and uninstalled.
- Plugins can have their own migration track.
- Plugins can have their own section in the Control Panel.
Getting Started #
Use [pluginfactory.io] to create your plugin’s scaffolding with just a few clicks.
Preparation #
Before you begin working on a plugin, you need to decide on a few things:
- Package name – Used to name your Composer package. It’s required even if you don’t want to distribute your plugin via Composer. (See Composer’s documentation for details.) We recommend prefixing the second segment (after the
/) withcraft-, to help identify that this is a Craft plugin. For example,pixelandtonic/craft-recipes. - Namespace prefix – Your plugin’s class namespaces will begin with this. (See the PSR-4 autoloading specification for details.) Note that this should not begin with
craft\; use something that identifies you, the developer. - Plugin handle – Something that uniquely identifies your plugin within the Craft ecosystem. (Plugin handles must begin with a letter and contain only lowercase letters, numbers, and dashes. They should be
kebab-cased.) - Plugin name – What your plugin will be called within the Control Panel.
Naming things is one of the two hardest things in computer science, so if you can make a decision on those things, the rest of the plugin should practically write itself.
Setting up the basic file structure #
To create a plugin, create a new directory for it somewhere on your computer. A common approach is to store them in a ~/dev/ folder alongside your Craft projects:
~/dev/
  my-craft-project.dev/
  my-plugin/
    composer.json
    src/
      Plugin.php
The name of your plugin directory doesn’t matter. Just choose something that is easy to identify.
composer.json #
Whether or not you wish to make your plugin available as a Composer dependency (you probably should), your plugin must have a composer.json file. Craft will check this file to get basic information about the plugin.
Use this template as a starting point for your composer.json file:
{
  "name": "package/name",
  "description": "Your plugin’s package description",
  "version": "1.0.0",
  "type": "craft-plugin",
  "minimum-stability": "dev",
  "require": {
    "craftcms/cms": "^3.0.0-RC1"
  },
  "autoload": {
    "psr-4": {
      "ns\\prefix\\": "src/"
    }
  },
  "support": {
    "email": "you@example.com"
  },
  "extra": {
    "handle": "plugin-handle",
    "name": "Plugin Name",
    "developer": "Developer Name",
    "developerUrl": "https://developer-url.com"
  }
}
Replace:
package/namewith your package name.ns\\prefix\\with your namespace prefix. (Use double-backslashes because JSON, and note this must end with\\.)you@example.comwith your support email.plugin-handlewith your plugin handle.Plugin Namewith your plugin name.Developer Namewith your name, or the organization name that the plugin should be attributed to.https://developer-url.comwith the URL to the website the developer name should link to in the Control Panel.
Here’s a full list of the properties that can go in that extra object:
handle– The plugin handle (required).class– The primary Plugin class name. If not set, the installer will look for aPlugin.phpfile at each of theautoloadpath roots.basePath– The base path to your plugin’s source files. This can begin with one of yourautoloadnamespaces, formatted as a Yii alias (e.g.@vendorname/foo). If not set, the directory that contains your primary Plugin class will be used.name– The plugin name. If not set, the package name (sans vendor prefix) will be used.version- The plugin version. If not set, the current package version will be used.schemaVersion– The plugin schema version.description– The plugin description. If not set, the maindescriptionproperty will be used.developer– The developer name. If not set, the first author’snamewill be used (via theauthorsproperty).developerUrl– The developer URL. If not set, thehomepageproperty will be used, or the first author’shomepage(via theauthorsproperty).developerEmail– The support email. If not set, thesupport.emailproperty will be used.documentationUrl– The plugin’s documentation URL. If not set, thesupport.docsproperty will be used.changelogUrl– The plugin’s changelog URL (used to show pending plugin updates and their release notes).downloadUrl– The plugin’s download URL (used to update manual installations of the plugin).sourceLanguage– The plugin’s source language (defaults toen-US).hasSettings– Whether the plugin has settings (should betrueorfalse).hasCpSection– Whether the plugin has its own section in the Control Panel (should betrueorfalse).components– Object defining any component configs that should be present on the plugin.
Don’t include
composer/installersas a Composer dependency.
While not strictly required by Composer, we recommend you explicitly set the
versionin yourcomposer.jsonbecause it makes a couple things easier on your when developing the plugin. Don’t forget to keep it updated though!
Primary Plugin Class #
The src/Plugin.php file is your plugin’s primary class. It will get instantiated at the beginning of every request. Its init() method is the best place to register event listeners, and any other steps it needs to take to initialize itself.
Use this template as a starting point for your Plugin.php file:
<?php
namespace ns\prefix;

class Plugin extends \craft\base\Plugin
{
    public function init()
    {
        parent::init();

        // Custom initialization code goes here...
    }
}
Replace ns\prefix with your plugin’s namespace prefix.
Loading your plugin into a Craft project #
To get Craft to see your plugin, you will need to install it as a Composer dependency of your Craft project. There are multiple ways to do that:
Path Repository #
During development, the easiest way to work on your plugin is with a path repository, which will tell Composer to symlink your plugin into the vendor/ folder right alongside other dependencies.
To set it up, open your Craft project’s composer.json file and make the following changes:
- Set
minimum-stabilityto"dev" - Set
prefer-stabletotrue - Add a new
pathrepository record, pointed at your plugin’s root directory.
{
  "minimum-stability": "dev",
  "prefer-stable": true,
  "repositories": [
    {
      "type": "path",
      "url": "../my-plugin"
    }
  ]
}
Set the
urlvalue to the absolute or relative path to your plugin’s source directory. (The../my-pluginexample value assumes that the plugin lives in a folder alongside the project’s folder.)
In your terminal, go to your Craft project and tell Composer to require your plugin. (Use the same package name you gave your plugin in its composer.json file.)
> cd ~/dev/my-craft-project
> composer require package/name
Composer’s installation log should indicate that the package was installed via a symlink:
- Installing package/name (X.Y.Z): Symlinking from ../my-plugin
One caveat of
pathComposer repositories is that Composer is not too smart about keeping their dependencies updated when callingcomposer update. You may need toremoveand re-requireyour plugin in your Craft project each time its dependencies change.
Packagist #
If you’re ready to publicly release your plugin, register it as a new Composer package on Packagist. Then you can install it like any other package, by just passing its package name to Composer’s require command.
> cd ~/dev/my-craft-project
> composer require package/name
Plugin Icons #
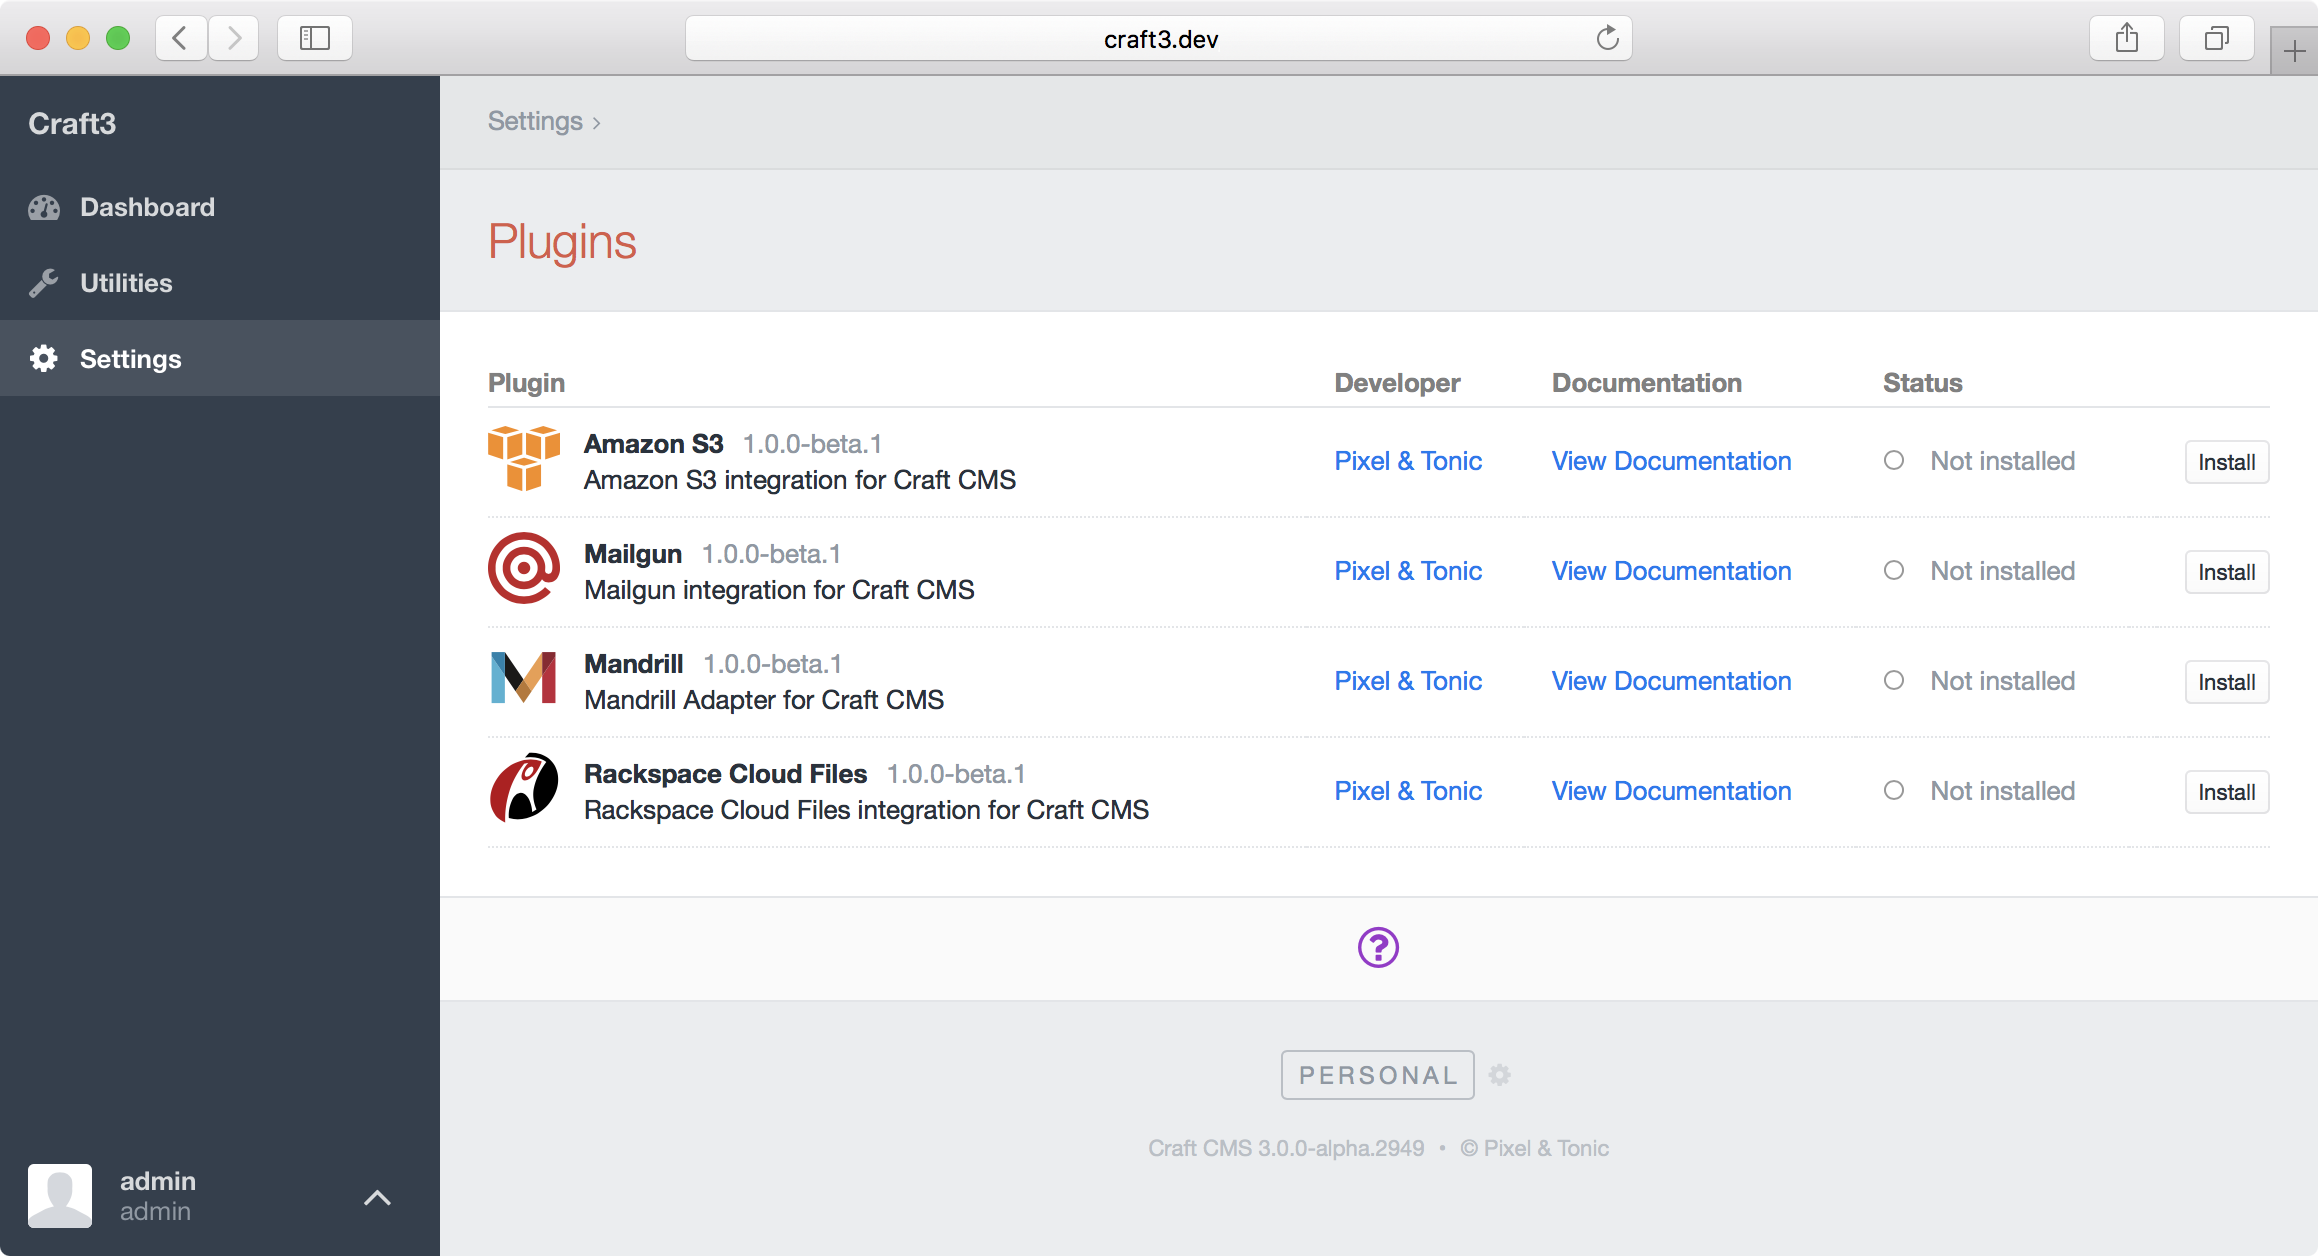
Plugins can provide an icon, which will be visible on the Settings → Plugins page.
Plugin icons must be square SVG files, saved as icon.svg at the root of your plugin’s source directory (e.g src/).
If your plugin has a Control Panel section, you can also give its global nav item a custom icon by saving an icon-mask.svg file in the root of your plugin’s source directory. Note that this icon cannot contain strokes, and will always be displayed in a solid color (respecting alpha transparency).