Create an LUT in Adobe Photoshop
The following process uses Photoshop, but you can apply it to other digital content creation tools such as DaVinci Resolve or Nuke.
Step 1: Set up the HDRP Asset
Decide on the lookup texture (LUT) size to use for the Project, and set it in your Project's HDRP Asset. To set the LUT size, use the HDRP Asset’s Grading LUT Size property. To find this property:
- Open your HDRP Asset in the Inspector window.
- Go to Post-processing > Grading LUT Size
This is a fixed size; if you change it later, you need to rebake all your LUTs. A size of 32 provides enough precision for real-time use.
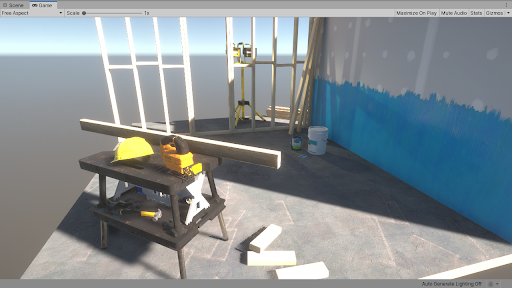
Step 2: Render the Camera view to an EXR file
Export the current Camera's view to a log-encoded EXR file. To do this:
- In the Scene view or Hierarchy, select a GameObject that contains a Camera component.
- Select Edit > Rendering > Render Selected HDRP Camera to Log EXR **(**or press Ctrl+Shift+Alt+E).
- Save the EXR file.
After you export the EXR file, transform the data from the format that Unity uses (Alexa LogC El.1000) to Linear RGB space, so that external software can use it. To do this, HDRP provides a set of ready-to-use transform LUTs. To get them:
- Open the Package Manager window (menu: Window > Package Manager).
- Select High Definition RP from the list of packages on the left.
- In the Samples section, select Import into Project next to Additional Post-processing Data.
- This imports the LUTs into Assets/HDRP Sample Content/Post-processing/Cube LUTs/.
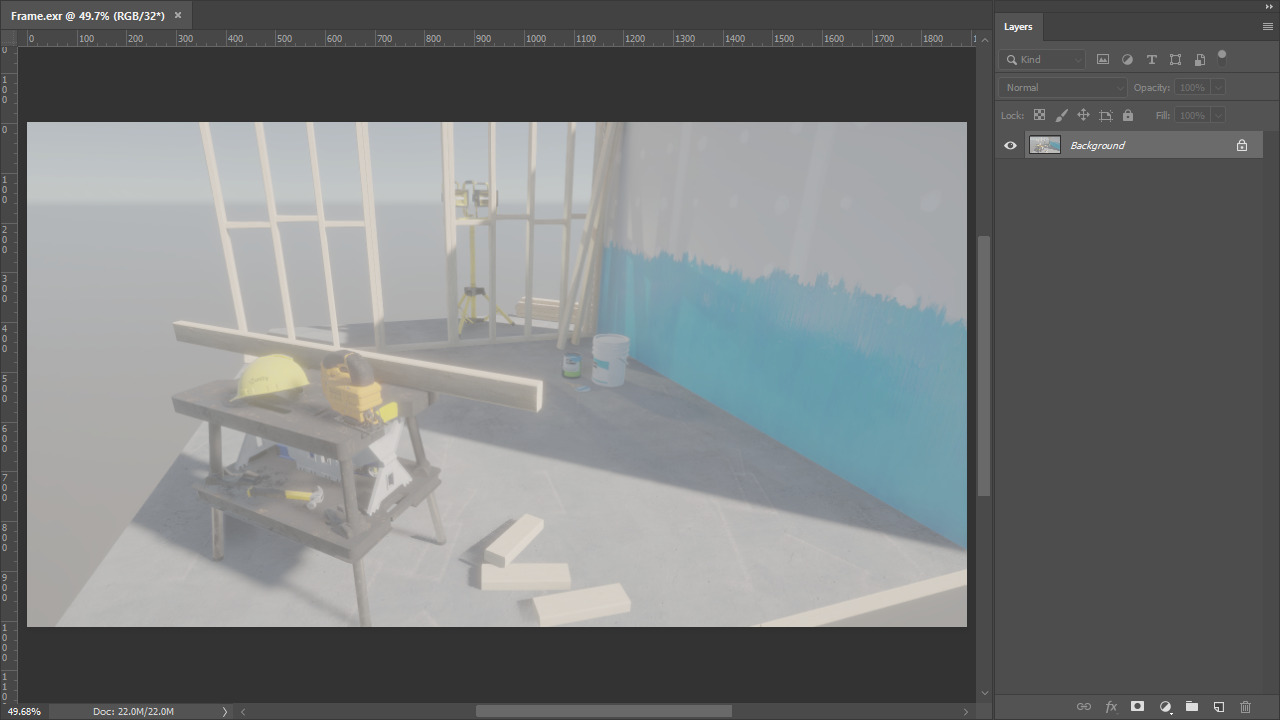
Step 3: Set up the EXR file in Photoshop
Import the EXR file into Photoshop. Because it's a raw log-encoded file, it appears washed-out.
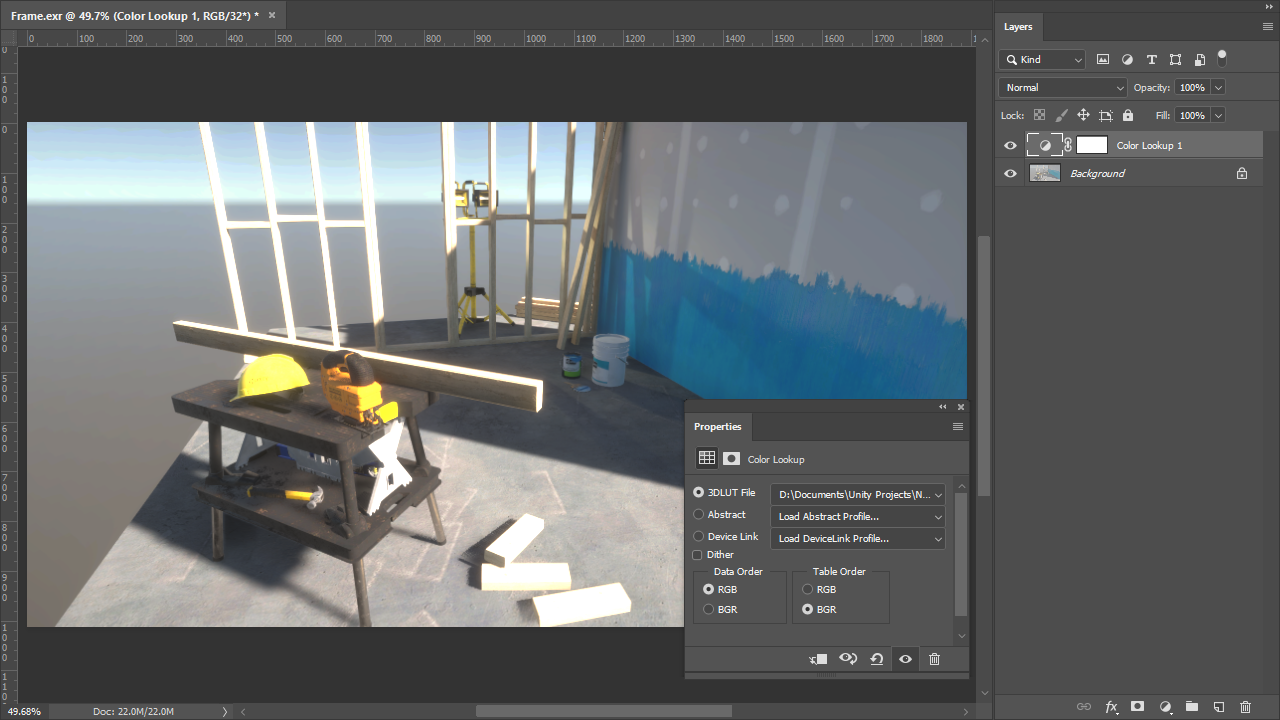
Add a non-destructive Color Lookup adjustment layer to your image (menu: Layer > New Adjustment Layer > Color Lookup…). Then, in the new layer's Properties:
- Set Data Order to RGB.
- Set Table Order to BGR.
- In the 3DLUT File drop-down, select Load 3D LUT… and select the Unity Log To Linear file to transform the LUT to a usable color space. This is in your Unity Project folder at Assets/HDRP Sample Content/Post-processing/Cube LUTs/.
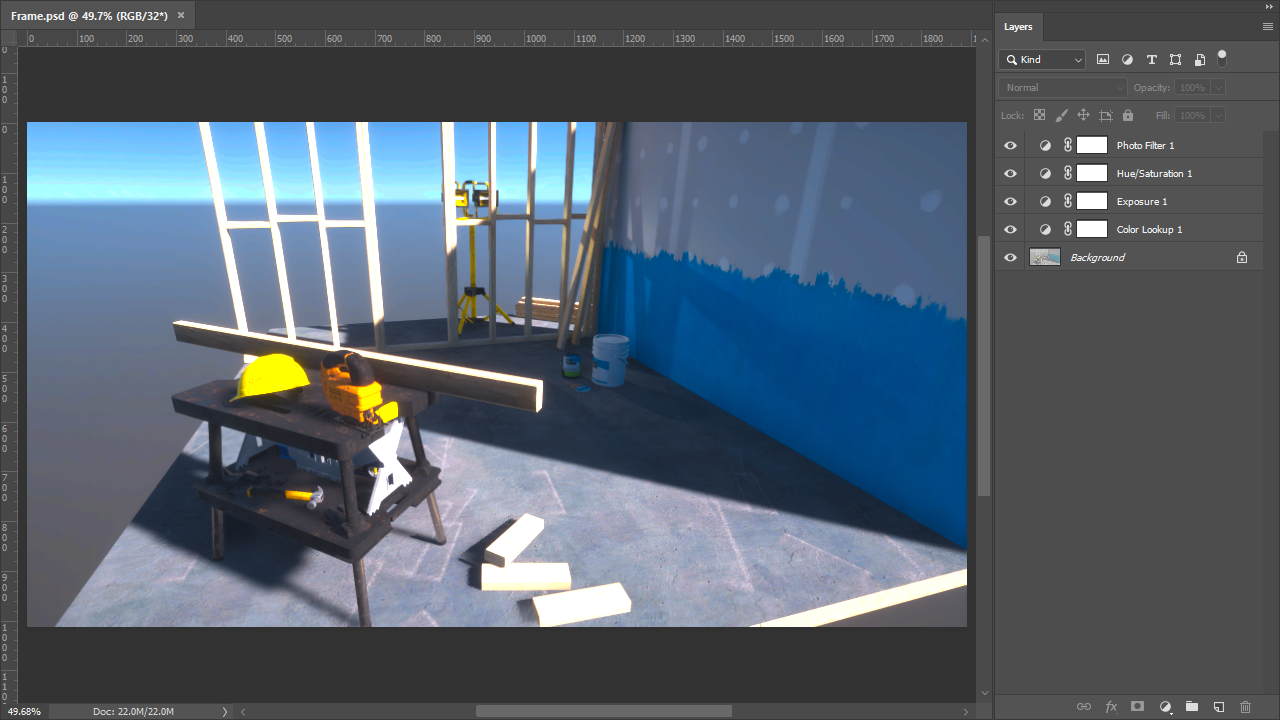
Step 4: Apply color grading
You can now start grading your image. Make sure you only do global color operations through the use of non-destructive adjustment layers. LUTs can't store local operators or any filters that affect neighboring pixels (such as blur), so these create visual artifacts. Place all the adjustment layers on top of the Color Lookup layer, unless you intend to grade directly on the Log input.
Step 5: Export your work as a CUBE file
When you finish grading, export your work as a CUBE file. To do this in Photoshop:
- Select File > Export > Color Lookup Tables (if you’re using another digital content creation program, see its documentation to learn how to do this).
- Set the Grid Point property to the same value as the Grading LUT Size in your Project's HDRP Asset.
- Save the CUBE file in your Unity Project's Assets folder.
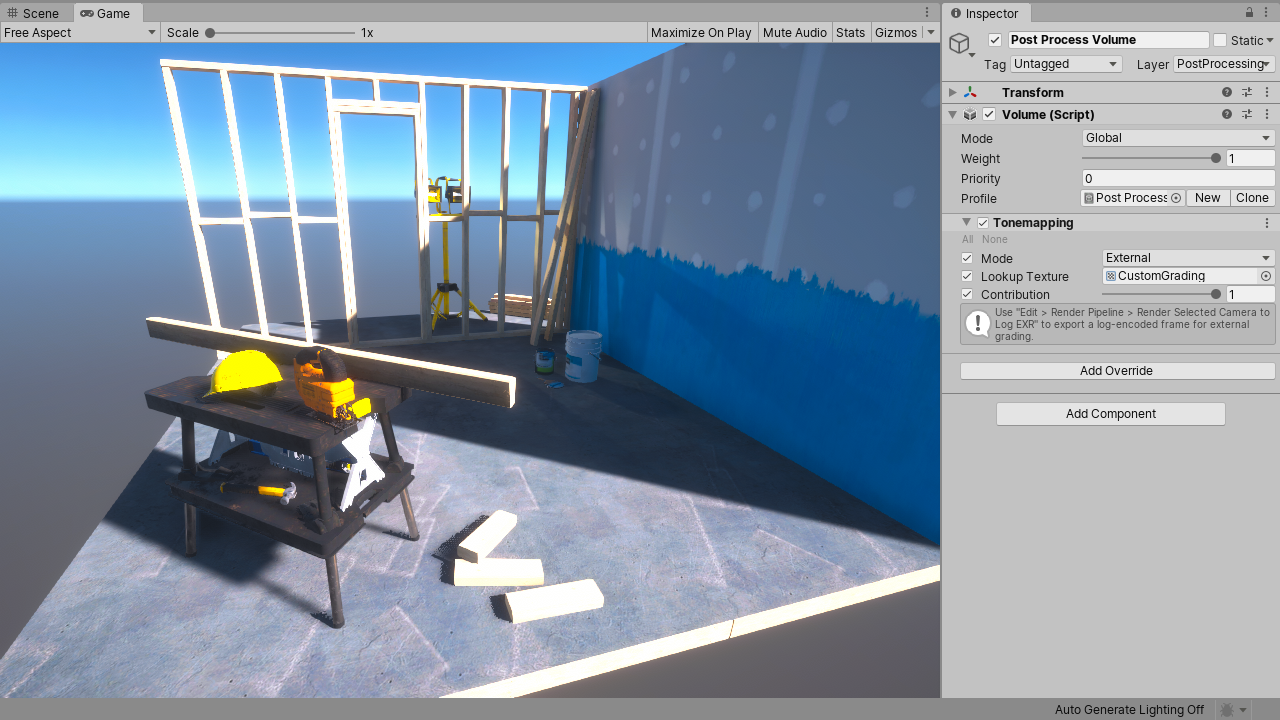
Step 6: Import and use the CUBE file in your Scene
Unity automatically interprets the CUBE file as a usable Texture3D Asset. You can use this CUBE file in a Tonemapping override inside a Volume. To do this:
- In the Scene or Hierarchy view, select a GameObject that contains a Volume component, and view it in the Inspector.
- In the Inspector, select Add Override > Post-processing and choose Tonemapping.
- In the Inspector for Tonemapping, enable Mode and set it to External.
- Assign your CUBE Texture to the Lookup Texture property.
- Change the Contribution to set how much the Lookup Texture contributes to the Scene.
You can continue to color grade in Photoshop and override the previously saved CUBE file. Unity automatically updates the grading in the Scene with your changes.