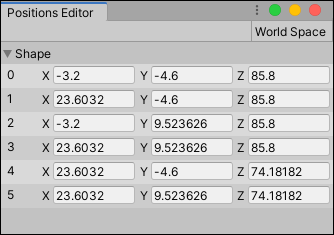
Positions Editor window
Use the Positions Editor window to enter specific translation coordinates to modify vertex positions.
Tip: You can access this tool from the ProBuilder menu (Tools > ProBuilder > Editors > Open Vertex Position Editor).
By default, Unity uses absolute coordinates to define positions, but you can click the World Space button in the top right corner to use relative coordinates instead (that is, relative to the Model Space).
The index of each vertex appears on the left, followed by the X, Y, and Z values that define its position. You can use this window as an alternative to modifying vertex positions with the transform tools. For example, to view or modify the vertex positions on any selected ProBuilder Mesh:
Click one of the element editing mode buttons on the Edit modes toolbar.
Select the vertices, edges, or faces that you want to modify.
Go to Tools > ProBuilder > Editors and select Open Vertex Position Editor.
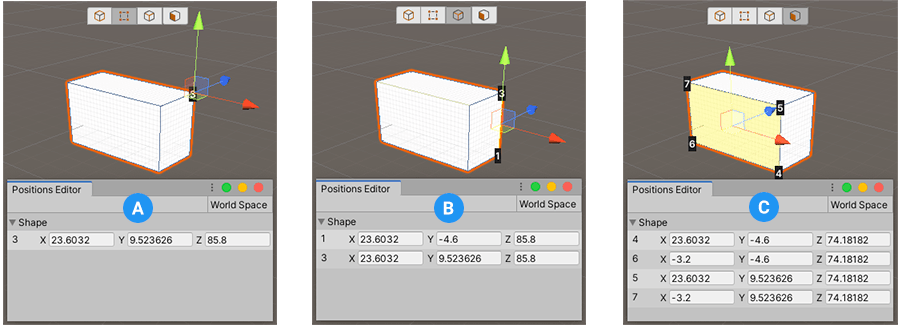
You can identify the vertices that appear in the Positions Editor by the index number that appears on the shape in the Scene view.
Set new values for the coordinates you want to modify. ProBuilder immediately updates the positions.