Set up your network and firewall
To enable a proper connection between the Client Devices and the Unity Editor:
Make sure the devices and Unity Editor workstation have access to the same network.
Disable any active VPNs.
On Windows 10:
- Make sure the Wi-Fi network you are using is set to Private.
- Set up your firewall to allow your Unity Editor program to get inbound connections from external apps of your local network
- In the Unity Editor, use the Connections window to automatically configure your firewall.
- If you still can’t connect, manually configure your firewall. with a dedicated rule.
Private Wi-Fi network setup
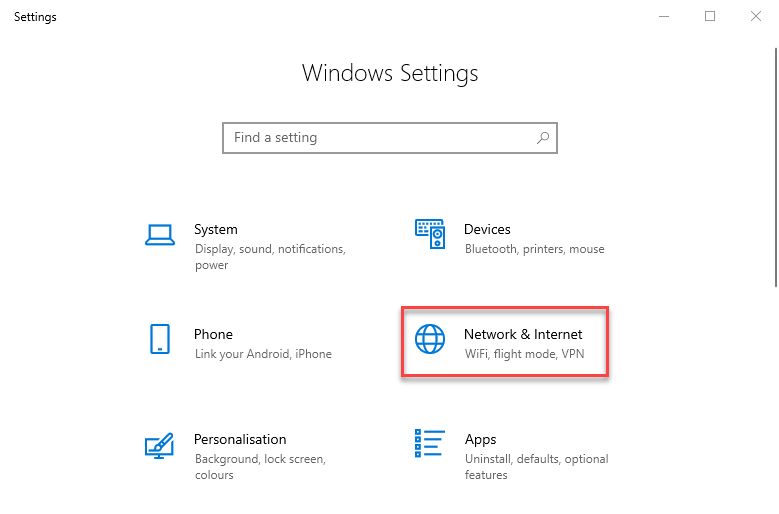
In the Windows Settings, select Network & Internet.
In the left panel, select WiFi, and then click on your connection on the right.
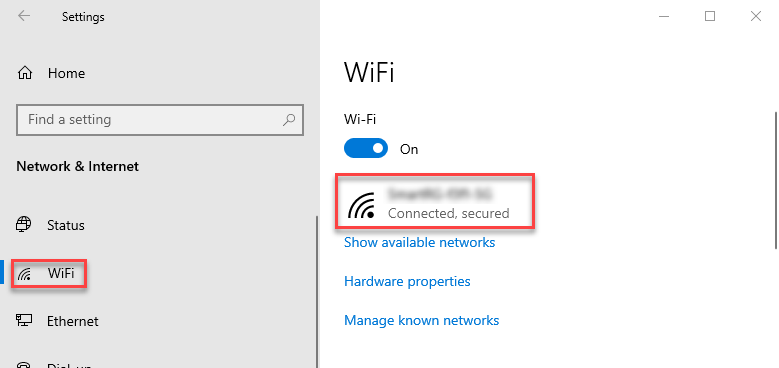
In Network profile, select Private.

Automatic firewall configuration
Open the Connections window by selecting Menu > Window > Live Capture > Connections.
If your firewall is not yet configured for Live Capture, the Connections window displays a "Firewall is not configured" message along with a Configure Firewall button. Click on this button.
If a user account control message box pops up asking for administrator privileges, you must grant permission.
Manual firewall rule configuration
Note: The following instructions apply to the default Windows Defender firewall. If you're using any other 3rd party firewall, see its documentation to reproduce the same configuration.
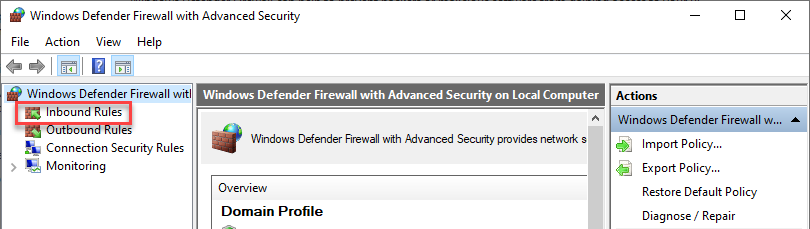
In the Windows Control Panel, go to System and Security > Windows Defender Firewall.
In the left menu, select Advanced Settings.

In the left pane, first select Inbound Rules.
In the right pane, select New Rule.
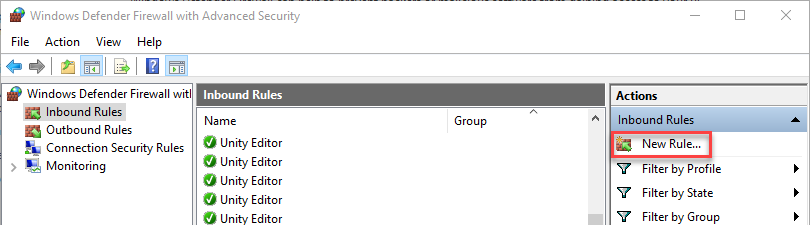
Perform the Program rule configuration steps through the New Inbound Rule Wizard according to your needs (see below).
Configuring a Program rule
Select Next each time to go to the next step.
| Step | Setting |
|---|---|
| Rule Type | • Select Program (default). |
| Program | • Select This program path: and then Browse to the Unity.exe file that corresponds to the Unity Editor that you want to connect the apps to. |
| Action | • Select Allow the connection (default). |
| Profile | • Select the profile that corresponds to the network you're using, and keep the other profiles unselected. For example, for a private network, select Private and keep Domain and Public unselected. |
| Name | • Enter Unity Live Capture, for example. |