Using XOAUTH2 can be quite a bit of a pain in the… you know…
This guide will show you how to set up XOAUTH2 with Microsoft Azure / Office365.
The OAuth2 libraries this depends upon require PHP 7.3 or later, so you need to be running at least that in order to be able to use this authentication system.
Because of this requirement, this package is not enabled by default in PHPMailer’s composer.json file, but appears in the ‘suggests’ section. You should take the suggested package and add it to your own composer.json file (the same one you use to install PHPMailer itself in your own project, not PHPMailer’s own composer file), and then re-run composer install to load it.
This example requires the greew/oauth2-azure-provider OAuth2 provider, but any provider connecting to Microsoft will do.
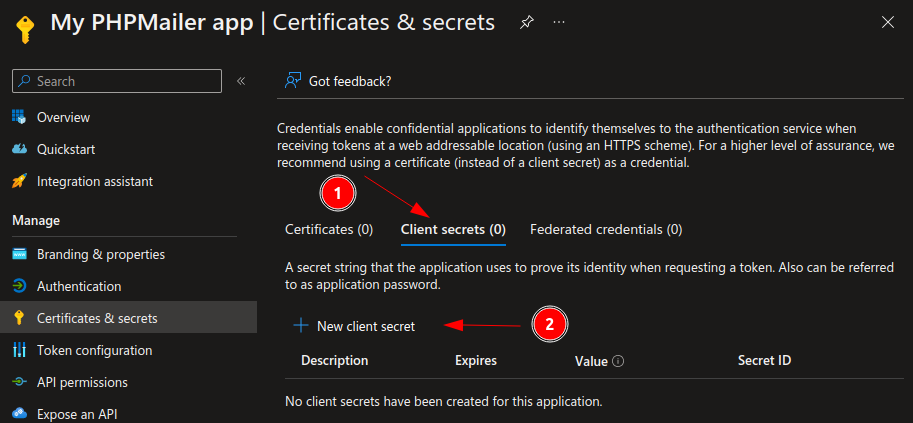
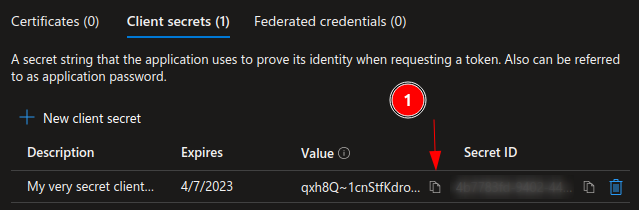
Microsoft Azure client secrets expires after a maximum of between 3 and 24 months (you can select the length yourself).
If your authentication suddenly doesn’t work anymore, please check the if the Client Secret has expired.
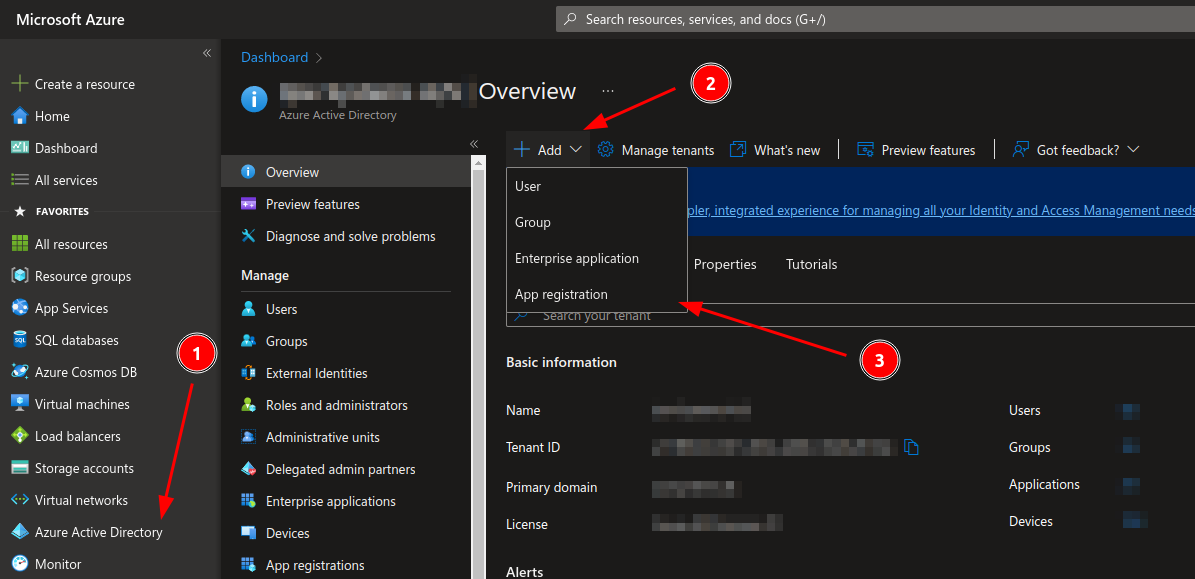
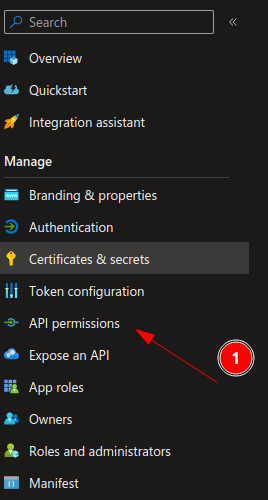
The following is a step-by-step guide to configuring an OAuth2 app in your Azure Portal.
Go to https://portal.azure.com and log in using your usual credentials.
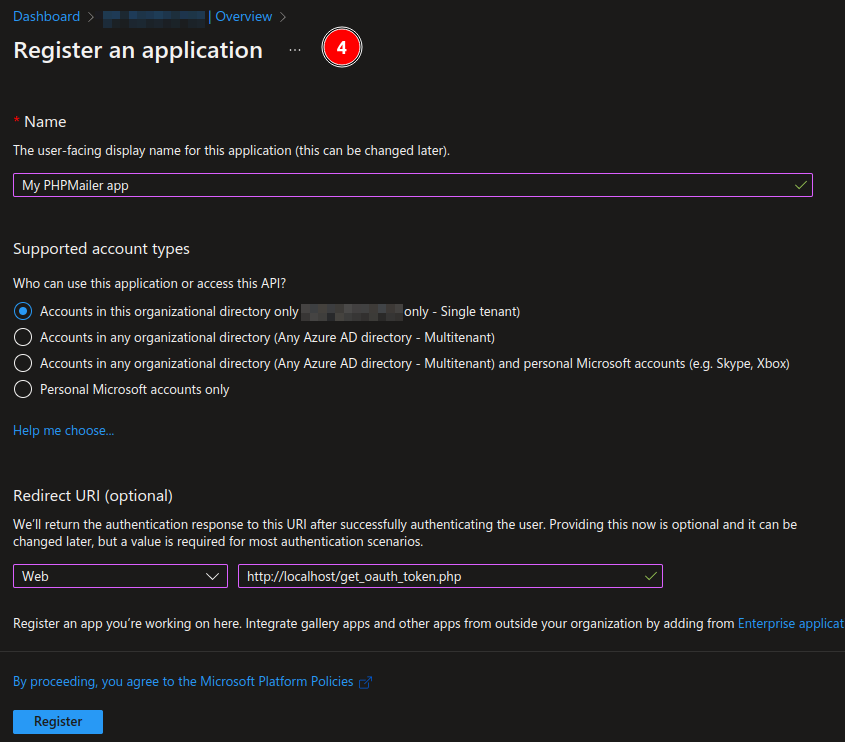
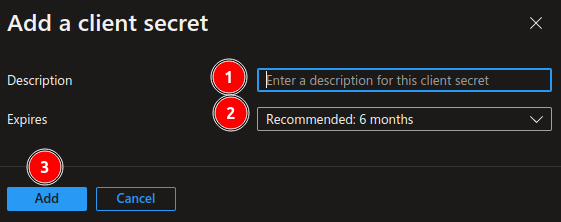
Enter data for your application:
(optional), it most certainly isn’t. In our case we will use the get_oauth_token.php bundled with PHPMailer. This script must be run on a webserver either on your local machine (as shown in the screenshot) or on another host. More on that part later!You will now be sent to your app page.
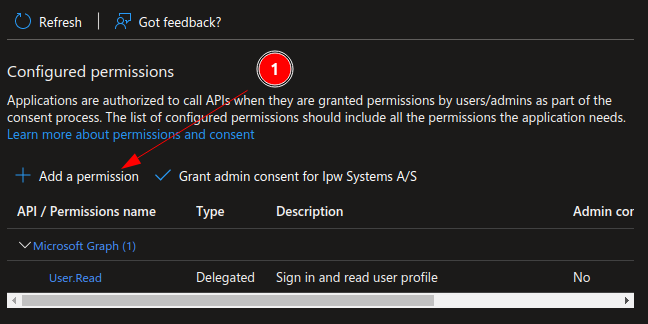
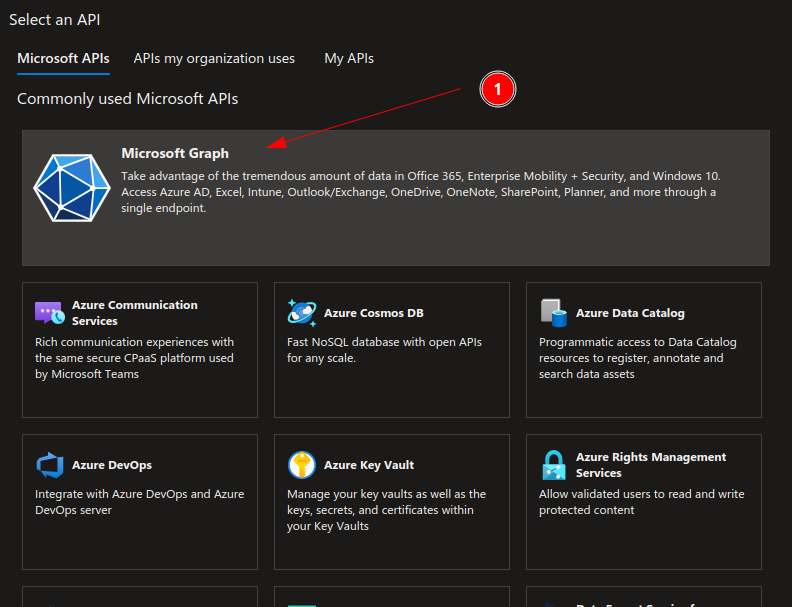
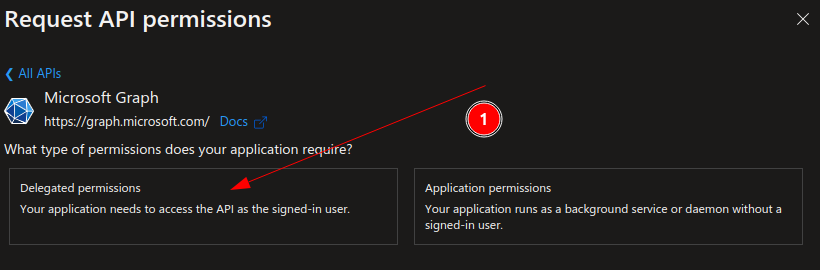

offline_access.SMTP in the search box.
SMTP.Send checkbox.Actually, both the Authorization Code and Access Token won’t be shown to us nor needed in this part. We just need to obtain the Refresh Token to be able to use the mailer.
This part of the guide makes the following assumptions:
* that you’re on a linux system with a terminal
* that you have the PHPMailer repository checked out on your local computer
* that you use composer for package management
Go the to PHPMailer repo folder on your computer.
Run the following command:
composer require greew/oauth2-azure-provider
We now have the needed packages installed. We now need to spin up a webserver. If you already have a webserver running, you can copy the PHPMailer folder into this. Else, use the following command
sudo php -S 127.0.0.1:80
The webserver has now been spun up!
Open a browser and go to http://localhost/get_oauth_token.php. You will now see a page like this:
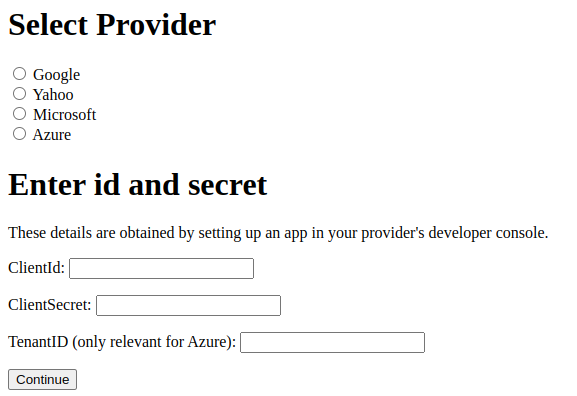
Fill in the following information
Click “Continue”.
If all steps have been successful, you should now get a screen like this (or maybe a login screen at first :).
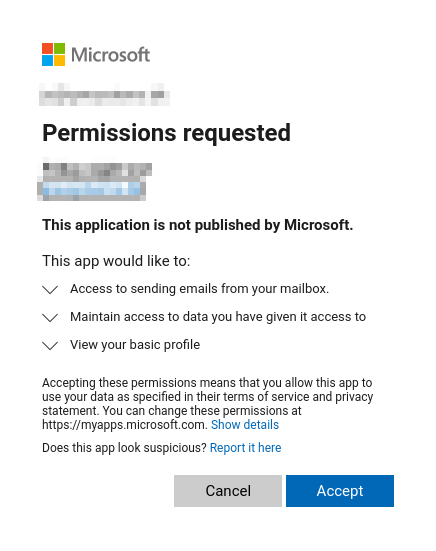
Click “Accept”.
You will now be forwarded to your own page again with a branch new Refresh Token.

Copy everything except the “Refresh Token: ” part at the beginning and save at the same place as the other values.
Now we have all information needed to send mails.
See an example in azure_xoauth2.phps (See also PR: https://github.com/PHPMailer/PHPMailer/pull/2793)