The API Manager-Subscriber portal enables an API subscriber perform the following:
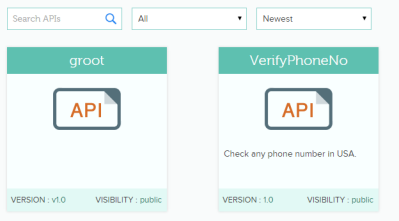
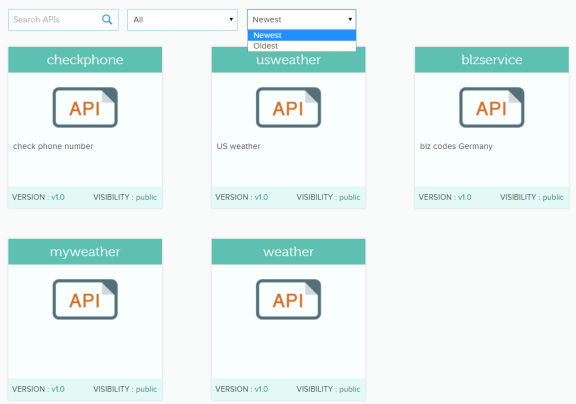
- View all published APIs
- View all subscribed APIs
- Search for APIs and view them according to category
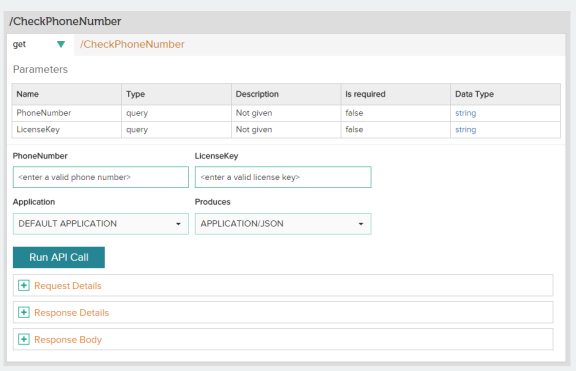
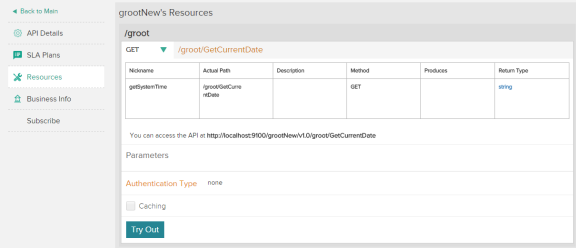
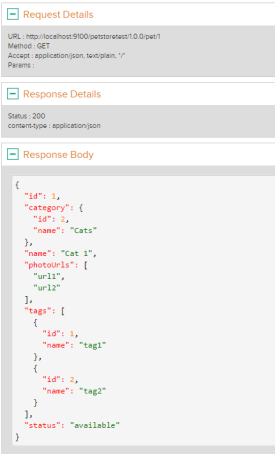
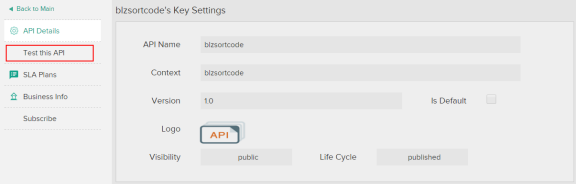
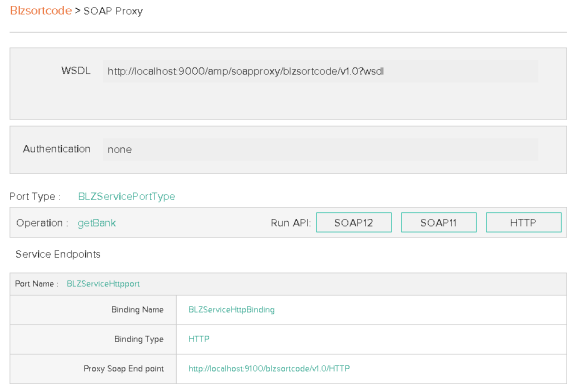
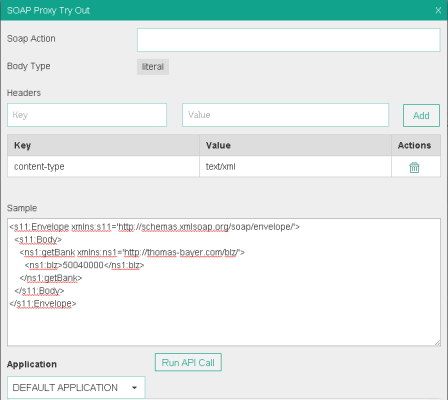
- View the parameters that an API requires
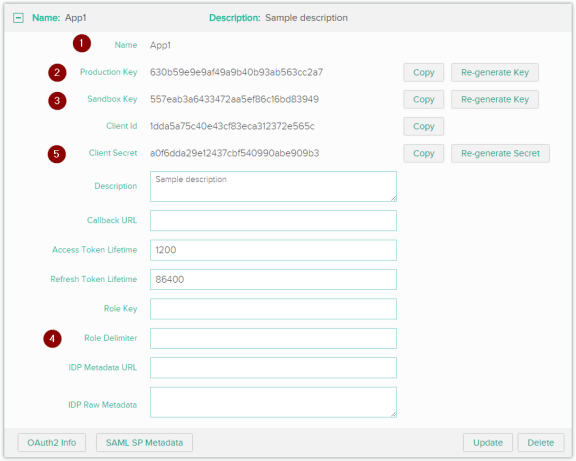
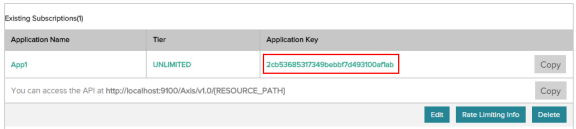
- Generate an API key
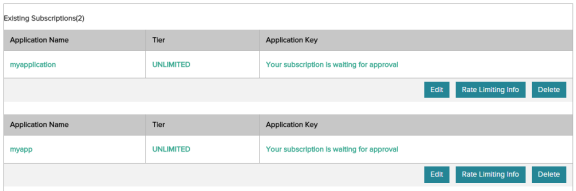
- Choose an SLA tier
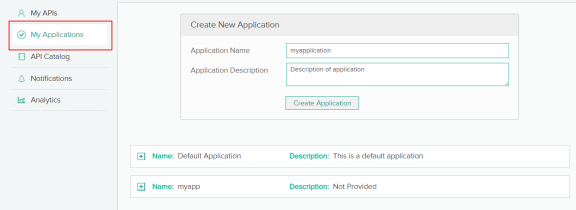
- Create applications
- View notifications from publisher